
We all noticed the temperature dropping, and the golden leaves falling from the trees. The supermarkets already have their full range of Christmas products on display. So I figured it might be the time you’re already thinking about Christmas presents and Advent calendars (especially here in Germany).
Maybe your loved ones are living abroad, maybe you don’t want to create a dozen Advent calendar but still give one to each of your family members, or maybe you just want to express your whole gorgeous & adorable nerdiness:
I’m giving you a code template to easily create an Advent calendar, and while we’re at it, I will explain a little what I did and how I did it 😉
So grab a coffee (or hot beverage of your choice), and let’s talk about: Advent Calendars. 😅
The setup
We start with a simple VueJS 2 CLI starter project. First, we need to install the vue/cli package and create our project by using the GUI:
# install VueCLI globally
npm install -g @vue/cli

# start the GUI installer in your browser
vue ui
Additionally to the basic instructions, we will install vue-router to navigate between our components and the scss CSS preprocessor.
npm install vue-router
npm install -D sass-loader sass
If you haven’t had any experience with VueJS or you want to find out more, check out the documentation at https://vuejs.org/v2/guide/.
After the installation you should see a basic VueJS installation:
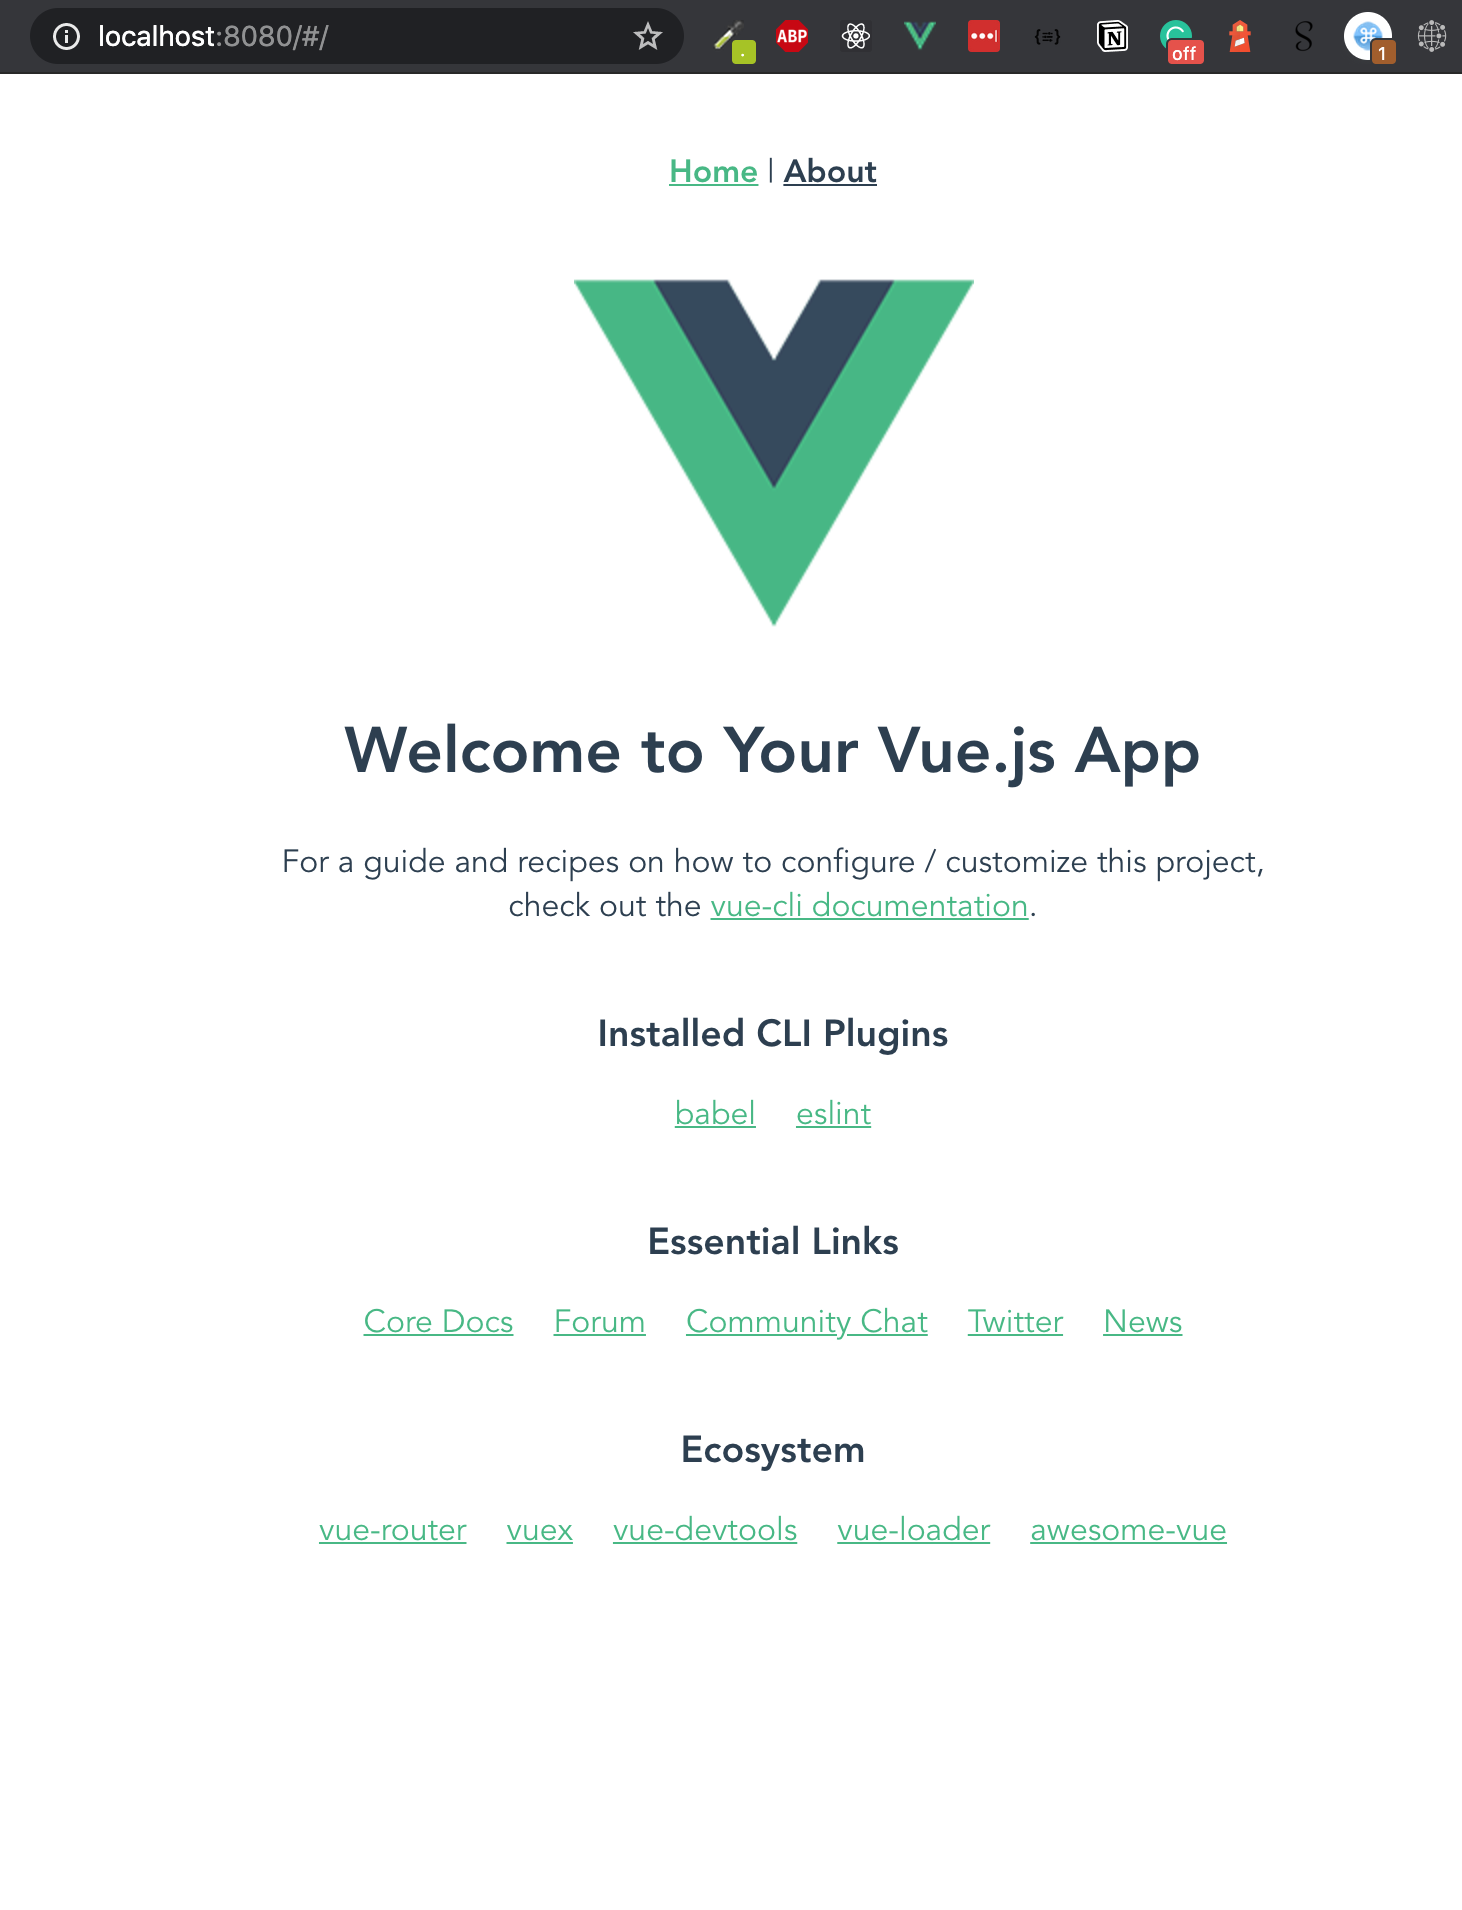
The basic structure
Let’s talk about how the architecture of our calendar might look like. VueJS is working in components similar to React, for example. So we could do something like this:
- Main application (depending on your PW or Cookie, you load a Calendar component)
- The Calendar component implements the overview and links to all 24 Day components.
- The Day component holds the content of a specific Day and a little DateTime checker to see if you are allowed to open the Day or if it’s too early for this.
Implementation
Calendar view
To spare you from reading through all the CSS, I will only include the <script> and <template> code for most of the code examples. You can find the final styling in the Github repository – feel free to adjust it to your liking!
Let’s jump right in and create a few new components/views. Starting with the Calendar view, which is showing 24 cards in a flexbox 6×4 layout. As we need the number as value already, I decided to do a v-for=”i in range(1,24)”. range(start, finish) is a very basic Javascript function, which is just returning a range of integers.
Each of the cards links to a new route /day/{day}.
<template>
  <div>
    <h1>Merry Christmas</h1>
    <h2>to you!</h2>
    <div class="cards-wrapper">
      <ul class="cards">
        <li
          class="card"
          v-for="i in range(1,24)"
          :key="i"
        >
          <div>
            <router-link :to="'/day/' + i">
              {{ i }}
            </router-link>
          </div>
        </li>
      </ul>
    </div>
  </div>
</template>

<script>
export default {
  name: 'Calendar',
  methods: {
    range: function (min, max) {
      let arr = []
      let j = 0
      for (let i = min; i <= max; i++) {
        arr[j++] = i
      }

      return arr
    }
  }
}
</script>
I’ve added some styling and removed the boilerplate code from the starter application. The App.vue is only loading the new Calendar view right now:
<template>
  <div id="app">
    <Calendar></Calendar>
  </div>
</template>
The result already looks promising:
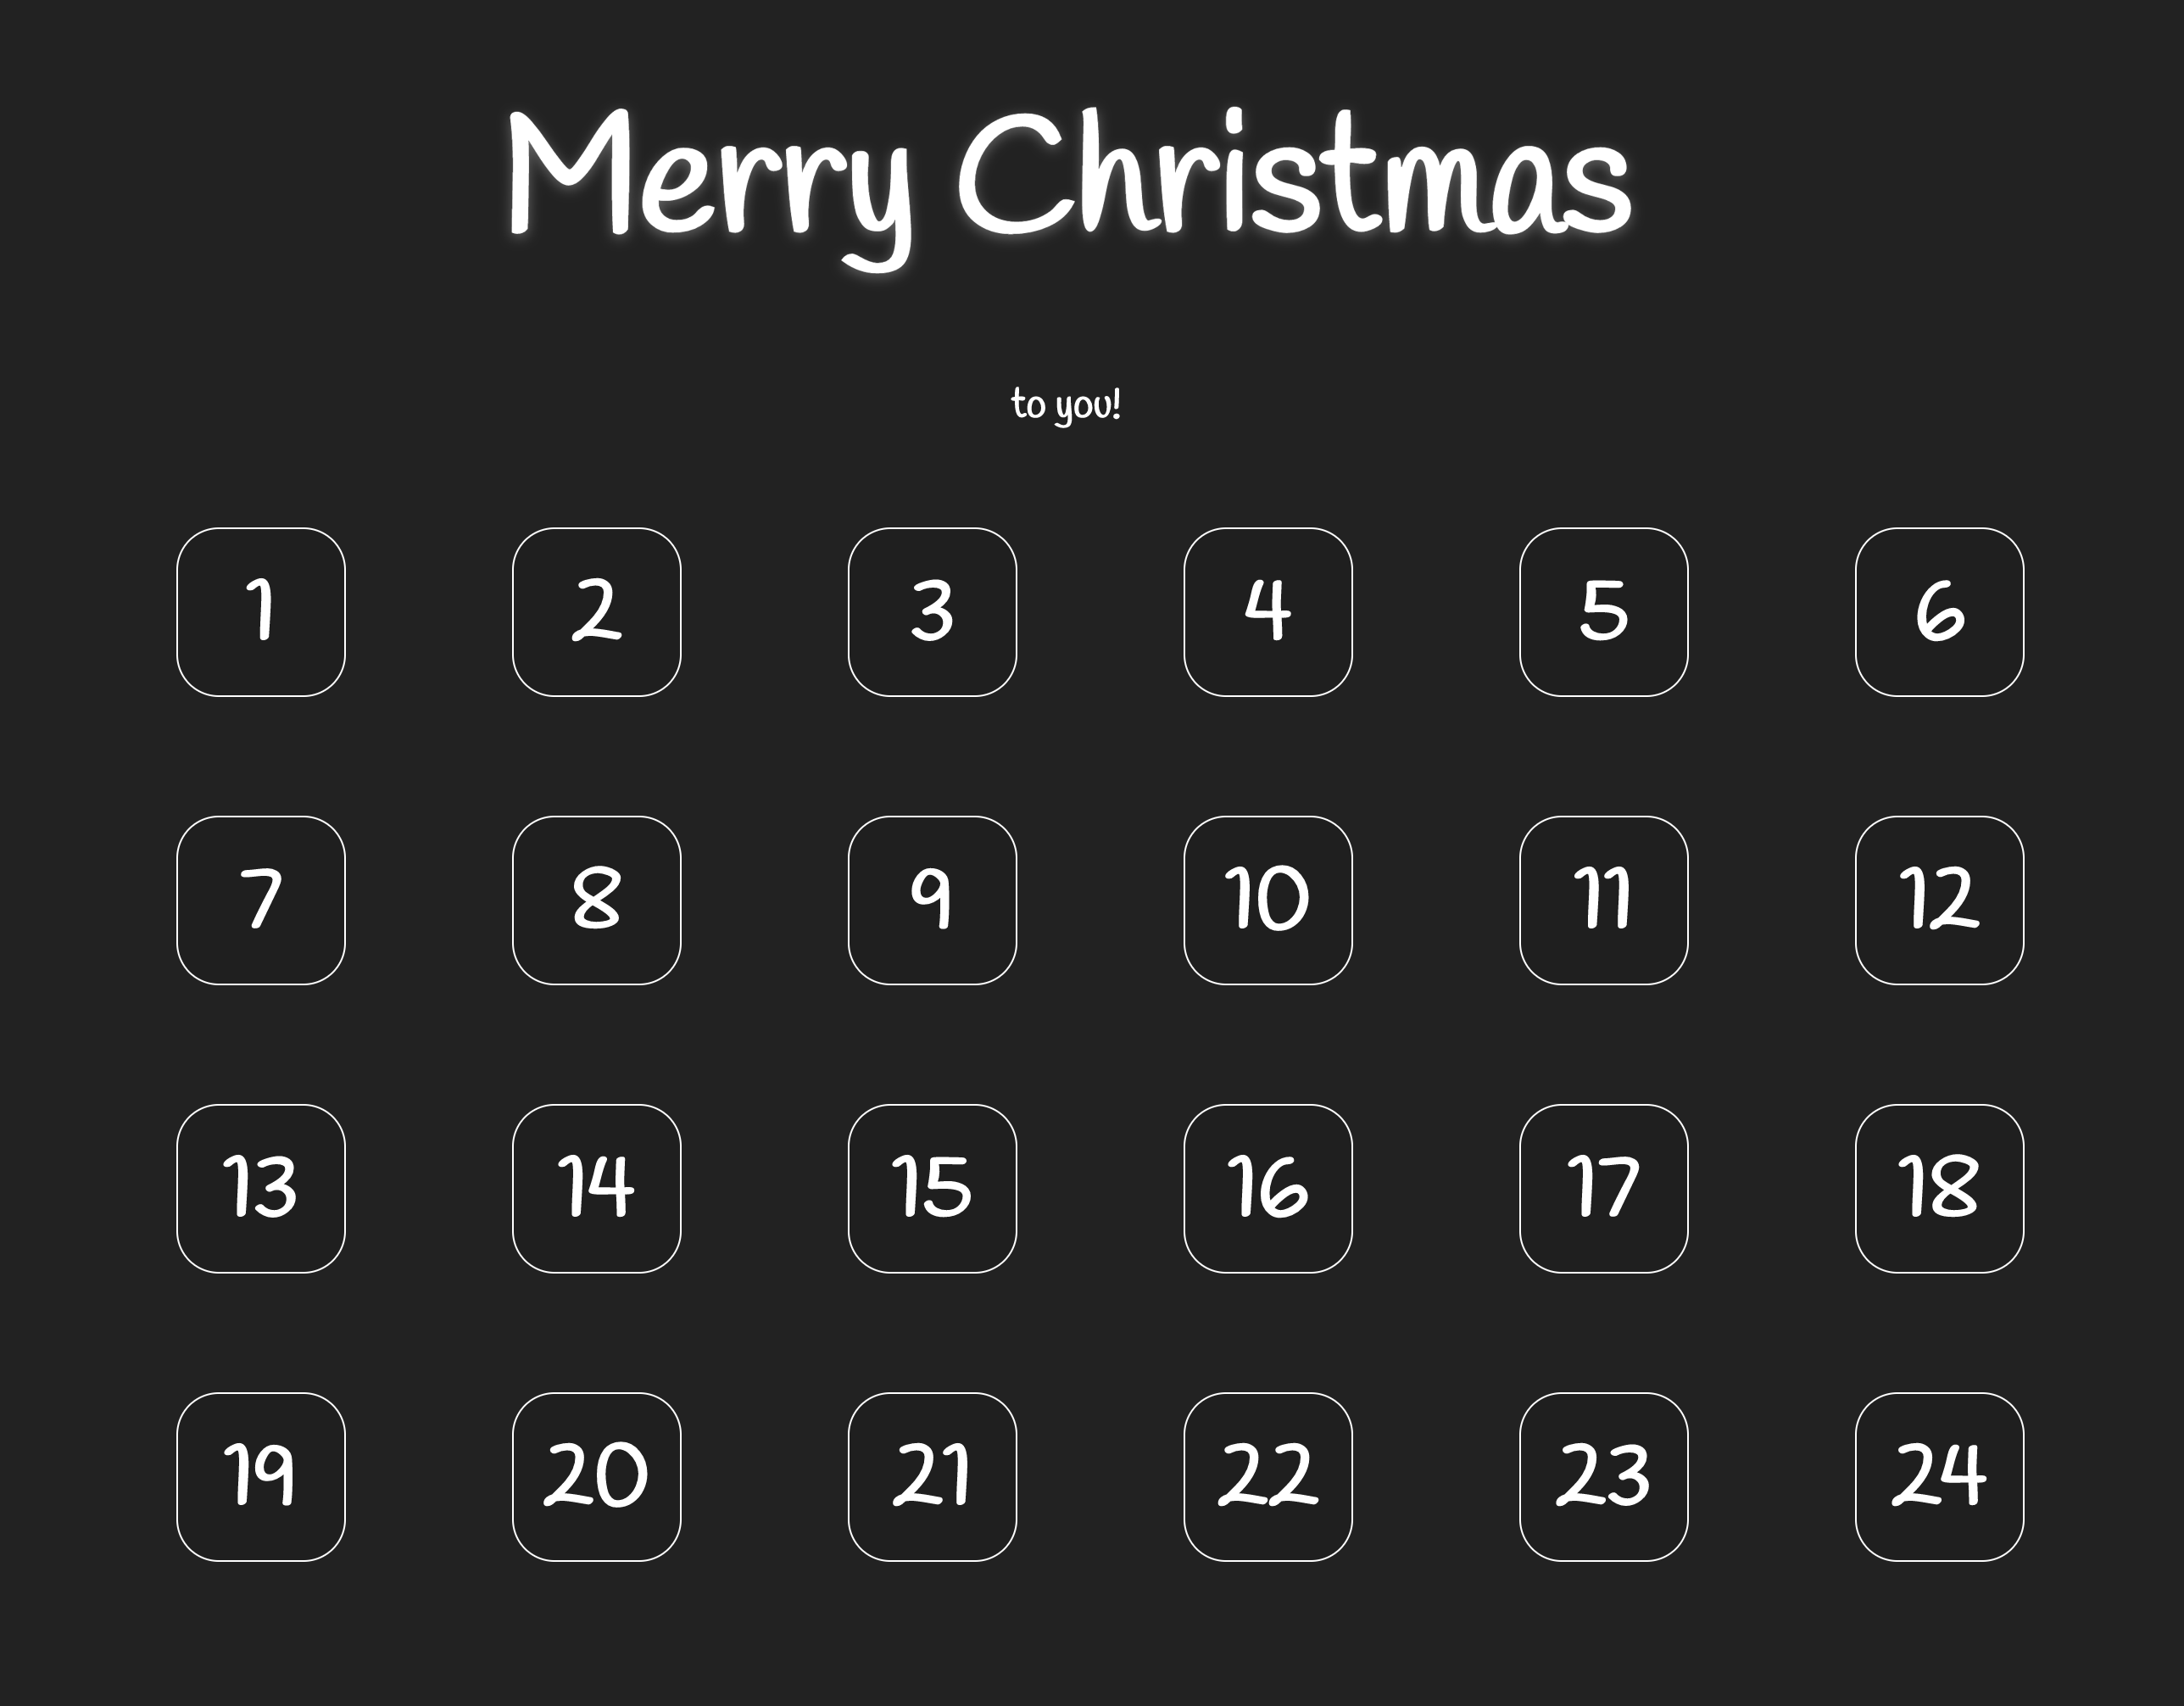
Let’s add the routes and Day component next!
Day components (First version)
To make use of the Vue router, we need to add the <router-view/> to our application. So we update the App.vue to include this tag instead and add the Calendar as the main route in our router’s index.js.
While we’re at it, let’s add the Day components dynamically. For this version, we’re creating a VueJS component for each day so that you can add your custom markup and special JS logic for every day!
import Vue from 'vue'
import VueRouter from 'vue-router'
import Calendar from '../views/Calendar.vue'

// import all newly created components
import Day01 from '../components/days/Day01.vue'
import Day02 from '../components/days/Day02.vue'
import Day03 from '../components/days/Day03.vue'
import Day04 from '../components/days/Day04.vue'
import Day05 from '../components/days/Day05.vue'
import Day06 from '../components/days/Day06.vue'
import Day07 from '../components/days/Day07.vue'
import Day08 from '../components/days/Day08.vue'
import Day09 from '../components/days/Day09.vue'
import Day10 from '../components/days/Day10.vue'
import Day11 from '../components/days/Day11.vue'
import Day12 from '../components/days/Day12.vue'
import Day13 from '../components/days/Day13.vue'
import Day14 from '../components/days/Day14.vue'
import Day15 from '../components/days/Day15.vue'
import Day16 from '../components/days/Day16.vue'
import Day17 from '../components/days/Day17.vue'
import Day18 from '../components/days/Day18.vue'
import Day19 from '../components/days/Day19.vue'
import Day20 from '../components/days/Day20.vue'
import Day21 from '../components/days/Day21.vue'
import Day22 from '../components/days/Day22.vue'
import Day23 from '../components/days/Day23.vue'
import Day24 from '../components/days/Day24.vue'

let days = [
  Day01, Day02, Day03, Day04, Day05, Day06, Day07, Day08, Day09, Day10, Day11, Day12,
  Day13, Day14, Day15, Day16, Day17, Day18, Day19, Day20, Day21, Day22, Day23, Day24
]

Vue.use(VueRouter)

const routes = [
  {
    path: '/',
    name: 'Calendar',
    component: Calendar
  },
]

// add the /day/ routes dynamically
for (let i = 1; i <= days.length; i++) {
  routes.push({
    path: '/day/' + i,
    component: days[i - 1]
  })
}

const router = new VueRouter({
  routes
})

export default router
A Day component could be very basic! We’re starting with just a simple template:
<template>
  <div>
    <h3>This is Day 1</h3>
    <p>
      Feel free to add whatever kind of markup, images, videos or custom JS logic as you like!
    </p>
    <img
        width="300"
        src="<https://placekitten.com/300/300>"
        alt=""
    >
  </div>
</template>
But there are three things to keep in mind:
- You shouldn’t be allowed to cheat. So we need to add a little JS logic to check if you’re allowed to open the chosen
Dayalready. - We don’t want to duplicate all of our code! There should be something like an abstract class which we can reuse for all the 24-day views.
- We might need a link to get back to the calendar overview.
Abstract Day (using VueJS slots)
Let’s start with the easiest problem (3.): To add a link back to the calendar overview from every single Day component we add a <router-link to="/"> to the new abstract Day. Additionally, we use VueJS slots to show the content of each single Day as the page-content slot. This works similarly to Twig’s embed or abstract classes which are overwriting specific (named) functions. With this, we can do all the basic styling in the new, abstract Day component. If you want to find out more about VueJS slots, visit: https://vuejs.org/v2/guide/components-slots.html
Oftentimes code explains a lot more than just words! This is the abstract Day component
<template>
  <div>
    <router-link to="/">Back to calendar</router-link>
    <main class="page-content">
      <slot name="page-content" class="page-content"></slot>
    </main>
  </div>
</template>
And this is how Day01 looks right now:
<template>
  <Day day="01.12.2020">
    <div slot="page-content">
      <h3>This is Day 1</h3>
      <p>
        Feel free to add whatever kind of markup, images, videos or custom JS logic as you like!
      </p>
      <img
          width="300"
          src="<https://placekitten.com/300/300>"
          alt=""
      >
    </div>
  </Day>
</template>

<script>
import Day from '../Day.vue'

export default {
  name: 'Day01',
  components: {
    Day
  }
}
</script>
As you can see in line 2: all of our markup is inside the Day component (which is imported in the script at the bottom). With <div slot="page-content"> we tell VueJS to insert the content of our <div> inside the slot with the same name (“page-content”).
You might’ve noticed that I already added a property day="01.12.2020" in line 2! Props work the same way as in React. I added the property, so we can implement the solution for problem 1: the DateTime checker. I installed momentJS (npm install moment) to make our work with DateTime objects easier.
Let me show you what I did with MomentJS and our new “day” property:
<script>
import Moment from 'moment'

export default {
  name: 'Day',
  props: ['day'],
  computed: {
    date: function () {
      return new Moment(this.day, 'DD.MM.YYYY')
    },
    now: function () {
      return new Moment()
    },
    isAllowedToView: function () {
      return this.date <= this.now
    },
    year: function () {
      return this.date.format('YYYY')
    }
  }
}
</script>
The “day” property is added and can be accessed as shown in the computed date function. The important part is the isAllowedToView method. We can use this computed property now to either view the component or a “Don’t teach” message using the v-if/v-else attributes.
<template>
  <div>
      <router-link to="/">Back to calendar</router-link>
    <h1 class="headline">{{ date.format('DD. MMMM') }}</h1>
    <main class="page-content" v-if="isAllowedToView">
      <slot name="page-content" class="page-content"></slot>
    </main>
    <main v-else>
      <div class="page-content">
        <h2>No cheating!</h2>
        <p style="text-align:center;">
          Seems like you need to be a little more patient ;-)
        </p>
      </div>
    </main>
  </div>
</template>
This was our final step. We’ve solved all three problems mentioned above and implemented the core functionality of the advent calendar. Next, I want to make it a little more fun, and to sum everything up, add a simple password protection to the calendar.
Video backgrounds
The calendar looks quite underwhelming right now. Advent calendars always have an element of surprise because you don’t know what’s behind the next “door”. As the calendar is digital, I want to use this opportunity and add changing backgrounds, so that every day when you visit the site you don’t know what background to expect!
To do this, I’ve been looking for some nice, free-to-use video backgrounds on pixabay: https://pixabay.com/videos/search/particles/ I encourage you to look for something special on your own to make your calendar really unique!
We want to have the video background on all our views, so it makes sense to add it on the lowest (or highest?) level: the App.vue:
<template>
  <div id="app">
    <div class="background">
      <video autoplay loop id="video-background" muted plays-inline>
        <source :src="video.src" :type="video.type" />
      </video>
    </div>
    <div class="content">
      <router-view/>
    </div>
  </div>
</template>
This looks almost like normal HTML. The only thing noticeable is the : in front of :src and :type. This is to tell VueJS that those values are bound to dynamic values like computed properties, data variables or props.
<script>
import Moment from 'moment'

export default {
  name: 'app',
  data () {
    return {
      sources: [
        {
          src: require('./assets/octagon.mp4'),
          type: 'video/mp4'
        },
        {
          src: require('./assets/particles.mp4'),
          type: 'video/mp4'
        },
        {
          src: require('./assets/snowflakes.mp4'),
          type: 'video/mp4'
        },
      ]
    }
  },
  computed: {
    video: function () {
      let day = (new Moment()).format('d')
      return this.sources[day % this.sources.length];

      // random on every page load:
      // return this.sources[Math.floor(Math.random() * 3)]
    }
  }
}
</script>
As you can see, the type was added, so you can add other video formats like webm. I’ve implemented two ways to choose a video from the array. The first is fixed by the current day, so it only changes every 24 hours. The second option is to let it change on every page (re)load.
The only thing missing is a little bit of styling to scale the video to fullscreen size and put it in the background:
#video-background {
  /*  making the video fullscreen  */
  position: fixed;
  right: 0;
  bottom: 0;
  min-width: 100%;
  min-height: 100%;
  width: auto;
  height: auto;
  z-index: -100;
}
This is the final result with the three background videos I’ve included in the repository:
Password protection
This is an advent calendar and so I don’t believe it needs Fort Knox security level. Nevertheless, I always want it to be a password protection and “please read the password from the source code” login. So we’re comparing a hashed password with a secret to the one we we’re creating before and saving it in a Cookie (npm install tiny-cookie). If this seems too insecure for your needs, feel free to adjust it to your needs 😉
First, we will create a new Login.vue component to be able to enter a password:
<template>
  <div>
    <h1>Please enter your password</h1>
    <div class="form">
      <div class="error" v-if="error">
        An error occured. Please try again!
      </div>
      <input type="password" v-on:keyup.enter="checkLogin" v-model="pw">
      <button type="submit" v-on:click="checkLogin">Login</button>
    </div>
  </div>
</template>

<script>
import * as Cookies from 'tiny-cookie'
import jsSHA from 'jssha'

// create your own secret hash (for example here: <https://caligatio.github.io/jsSHA/>)
const SECRET = '760aa5e0943be9e6644b9a1cec57c1caad7a5e1743f474eb1092d5b2489c2d15';
const PASSWORD_HASH = '3b9bf616da7314dc569d352c06cc2a55c8c19248a7e3f72cf7225245cff75b313c73a6a26bb594082e7706554a5404768e0aedee545721a7ff7bde1dad494d5d'

export default {
  name: 'Login',
  data () {
    return {
      pw: '',
      error: false
    }
  },
  methods: {
    checkLogin: function () {
      // this is not secure (!) & should be handled in the backend if necessary
      const pw = new jsSHA("SHA-512", "TEXT", { encoding: "UTF8" });
      pw.update(this.pw);
      pw.update(SECRET);

      if (pw.getHash("HEX") === PASSWORD_HASH) {
        const expiryDate = new Date()
        expiryDate.setMonth(expiryDate.getMonth() + 2)

        Cookies.setCookie('REMEMBERME', true, {expires: expiryDate})
        this.error = false

        // redirect to calendar view
        this.$router.replace({path: '/'})
      } else {
        this.error = true
      }
    }
  }
}
</script>
I’ve used the library jsSHA to create the hashes (npm install jssha). I am concatenating the password "password" with the SECRET hash to generate the final SHA512 password hash which is saved in the constant PASSWORD_HASH. This is totally insecure but still 0.01 per cent safer than saving the clear text password 😅
Now we need to add a guard to our router. We’re checking every calendar specific URL for the REMEMBERME cookie (also very insecure btw. 😉). If it’s not available, we will redirect to the Login view.
import Login from '@/components/Login.vue'
import * as Cookies from 'tiny-cookie'

// ...

const routes = [
  {
    path: '/',
    name: 'Calendar',
    component: Calendar
  },
  {
    path: '/login',
    name: 'Login',
    component: Login
  }
]

// ...

router.beforeEach((to, from, next) => {
  if (to.path.includes('/day/') === false) {
    next()
    return;
  }

  // protect every route which does not include /day/
  var allowedToPass = Cookies.getCookie('REMEMBERME')

  if (allowedToPass) {
    next()
  } else {
    next('/login')
  }
})
Summary
That’s it! We’ve created a VueJS advent calendar with 24 individual day components that you can fill with whatever content you like! We’ve added three nice video backgrounds, a little password protection, and a guard to check if you’re already allowed to open “the next door”.
If you don’t want to create 24 custom days, I will show you how to create an alternative where you only need to fill one JSON file next week.
You can find the whole project at https://github.com/moritzwachter/advent-calendar.