During this year of the pandemic, probably everyone out there has seen at least one thread, post, or email about “Show me your desk! How do YOU work?”. While this can be inspiring or interesting from time to time, it often feels to me like a “Who has the biggest (desk)?” or “Who has the most displays to show?”. So I understand when you might think: “Why should I even read this article about someone else’s desk?”.
When I moved out of my parent’s, I took my desk with me. The desk was specifically designed as a “PC desk”, which was much smaller in width and had some “cool” features like an adjustable angle for your CRT (!!) display or a slide-out for mouse and keyboard. The latter actually was a really nice feature! Naturally, 15 years after getting this desk, I felt I’d outgrown the table, and I always dreamed about a bigger desk and more free space. So when I moved in with my girlfriend this year, I finally made a change and built my own desk.
This article will tell you how I’ve built my DIY-desk and why I decided to do it this way. If you plan to build your own desk or look for inspiration on how to improve your current workplace, this article is for you!
Let’s grab a coffee and talk about: Building your own desk!
What do you want to achieve?
When starting to plan your desk, you should ask yourself what you are trying to accomplish. As this will be as customized as it can be (in the end, your building your own desk after your own wishes), you should have a clear vision of your goals. Should it be unique? Multi-functional? Do you want to reuse or recycle any resources you have lying around? Should it be beautiful or simply cost less than a desk at IKEA (which might not be mutually exclusive!)?
Space
For me, one of the most important things was: it should save space! Living in a bigger city like Berlin, London, or even New York, rent is never cheap, and you always try to find ways to get more space out of your flat (or maybe that’s just my thing 🤷). As I’ve mentioned before, I moved in with my girlfriend this year, which meant that we have the additional challenge of getting two households with furniture, music instruments, and a lot of other stuff into one apartment. Apart from my girlfriend’s electric piano, I brought a Cajon, a MIDI-Keyboard, NI Maschine, some DJ & Recording equipment and: a vibraphone!
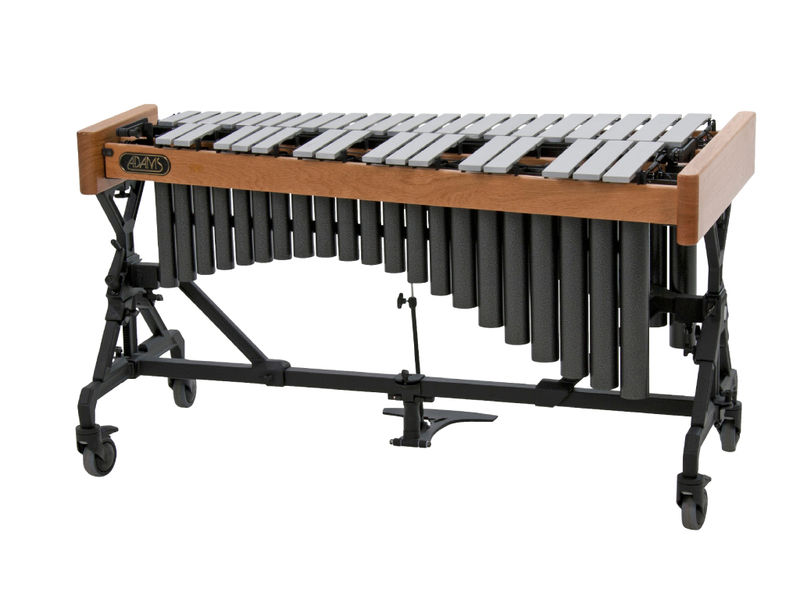
If you’ve never seen one in real life, a vibraphone is about 2.5m (8ft) long and 1m (3ft) in depth. If you’ve never heard one in real life, I got you covered:
So I had the challenge of either putting it into some storage facility or finding a way so it’s not taking up too much space.
Standing desk vs. normal desk
On top of this, I fancied a standing desk for some time now. There are tons of articles on the web about the health disadvantages of sitting the whole day, and a lot of people switched to standing desks. We, as programmers (or office workers in general), sit a lot. And for me, it definitely didn’t get better during COVID when I broke my toe during the summer 😅. But those motorized desks cost a lot of money for the possibility to switch from a sitting position to a standing position. Usually, when you’ve figured out the perfect height for both positions, you don’t need the feature of increasing or decreasing the height in 1cm steps anymore.
The materials
Another consideration is definitely: How skilled are you as a craftsman/craftswoman, and what tools do you have at hand? I don’t have a garage with a variety of different saws, grinding machines, drills, etc., etc. Consequently, I decided to buy some nice looking table tops from a hardware store and went for a table frame made from cast iron pipes. You’ve probably seen those a lot during the last couple of years. For example, these here: https://www.homedit.com/diy-desks-from-pipes-and-wood/
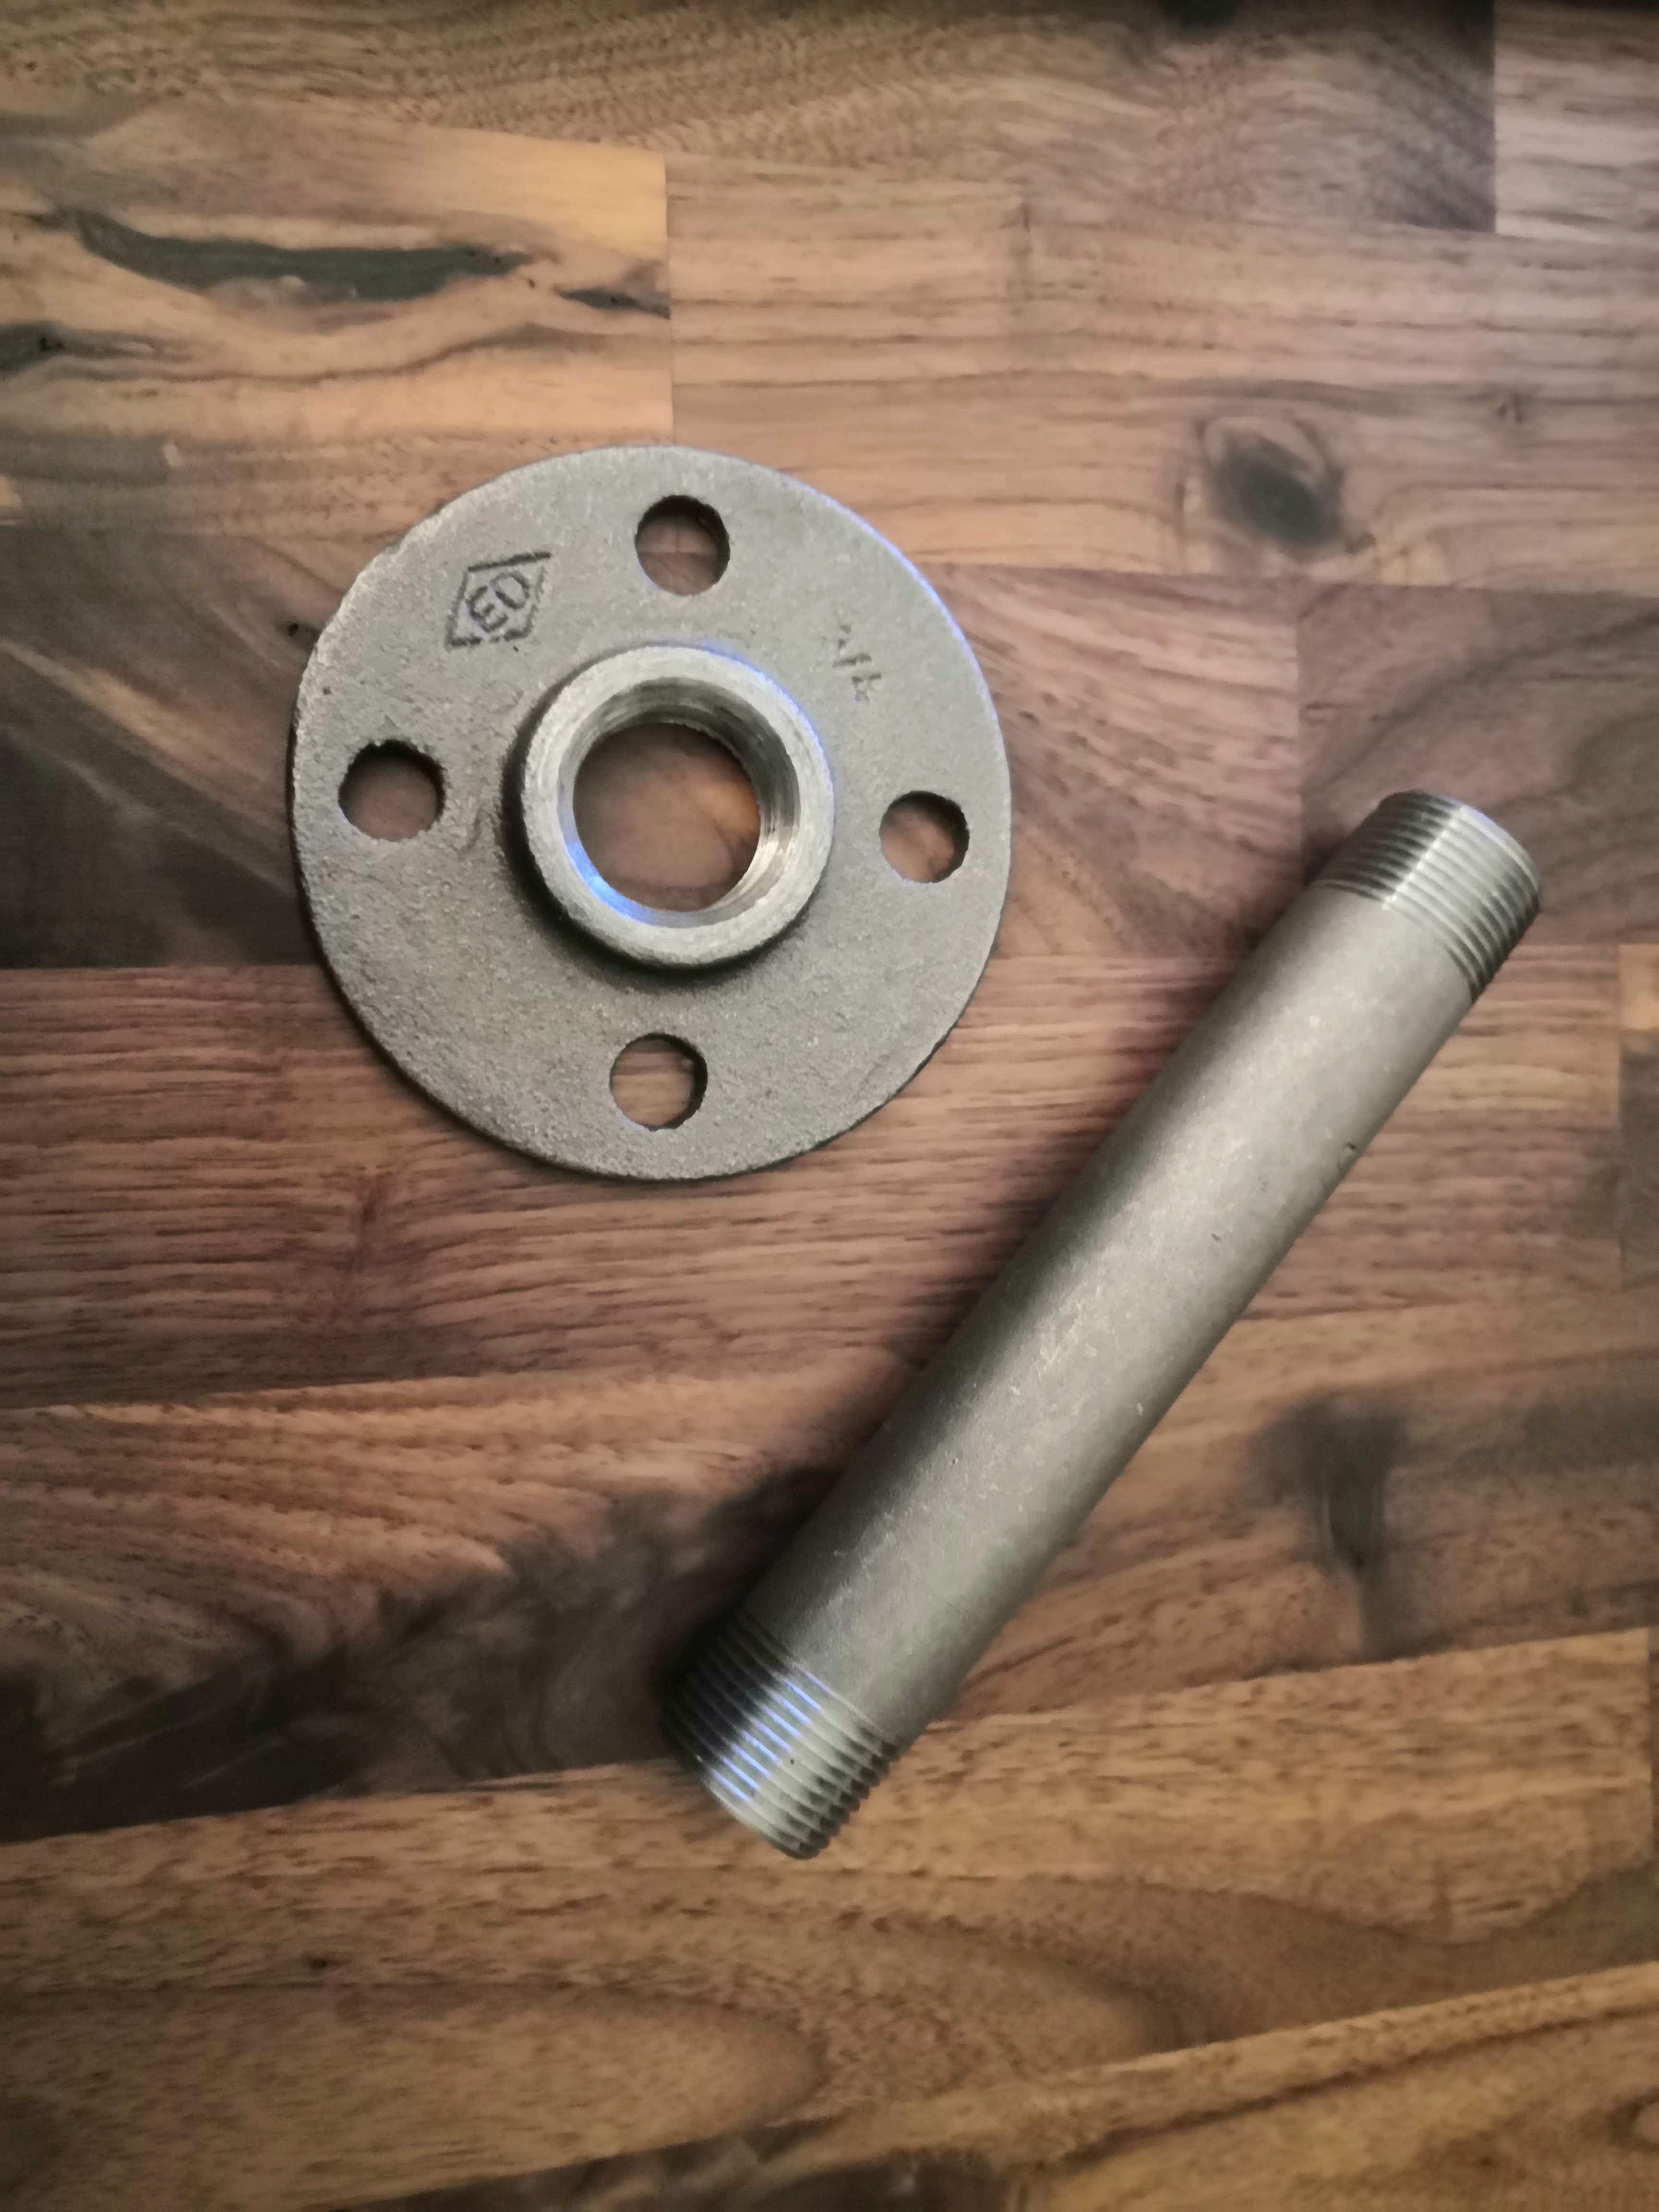
For those living in Germany, I went for a combination of https://www.iltubo.de/ and eBay. Depending on your country and hardware stores’ product range, you might be lucky and find there what you need. Another solution could be to use shelves (e.g., IKEA KALLAX shelves) which provide additional storage possibilities. Be creative. There are tons of alternatives! 🙂
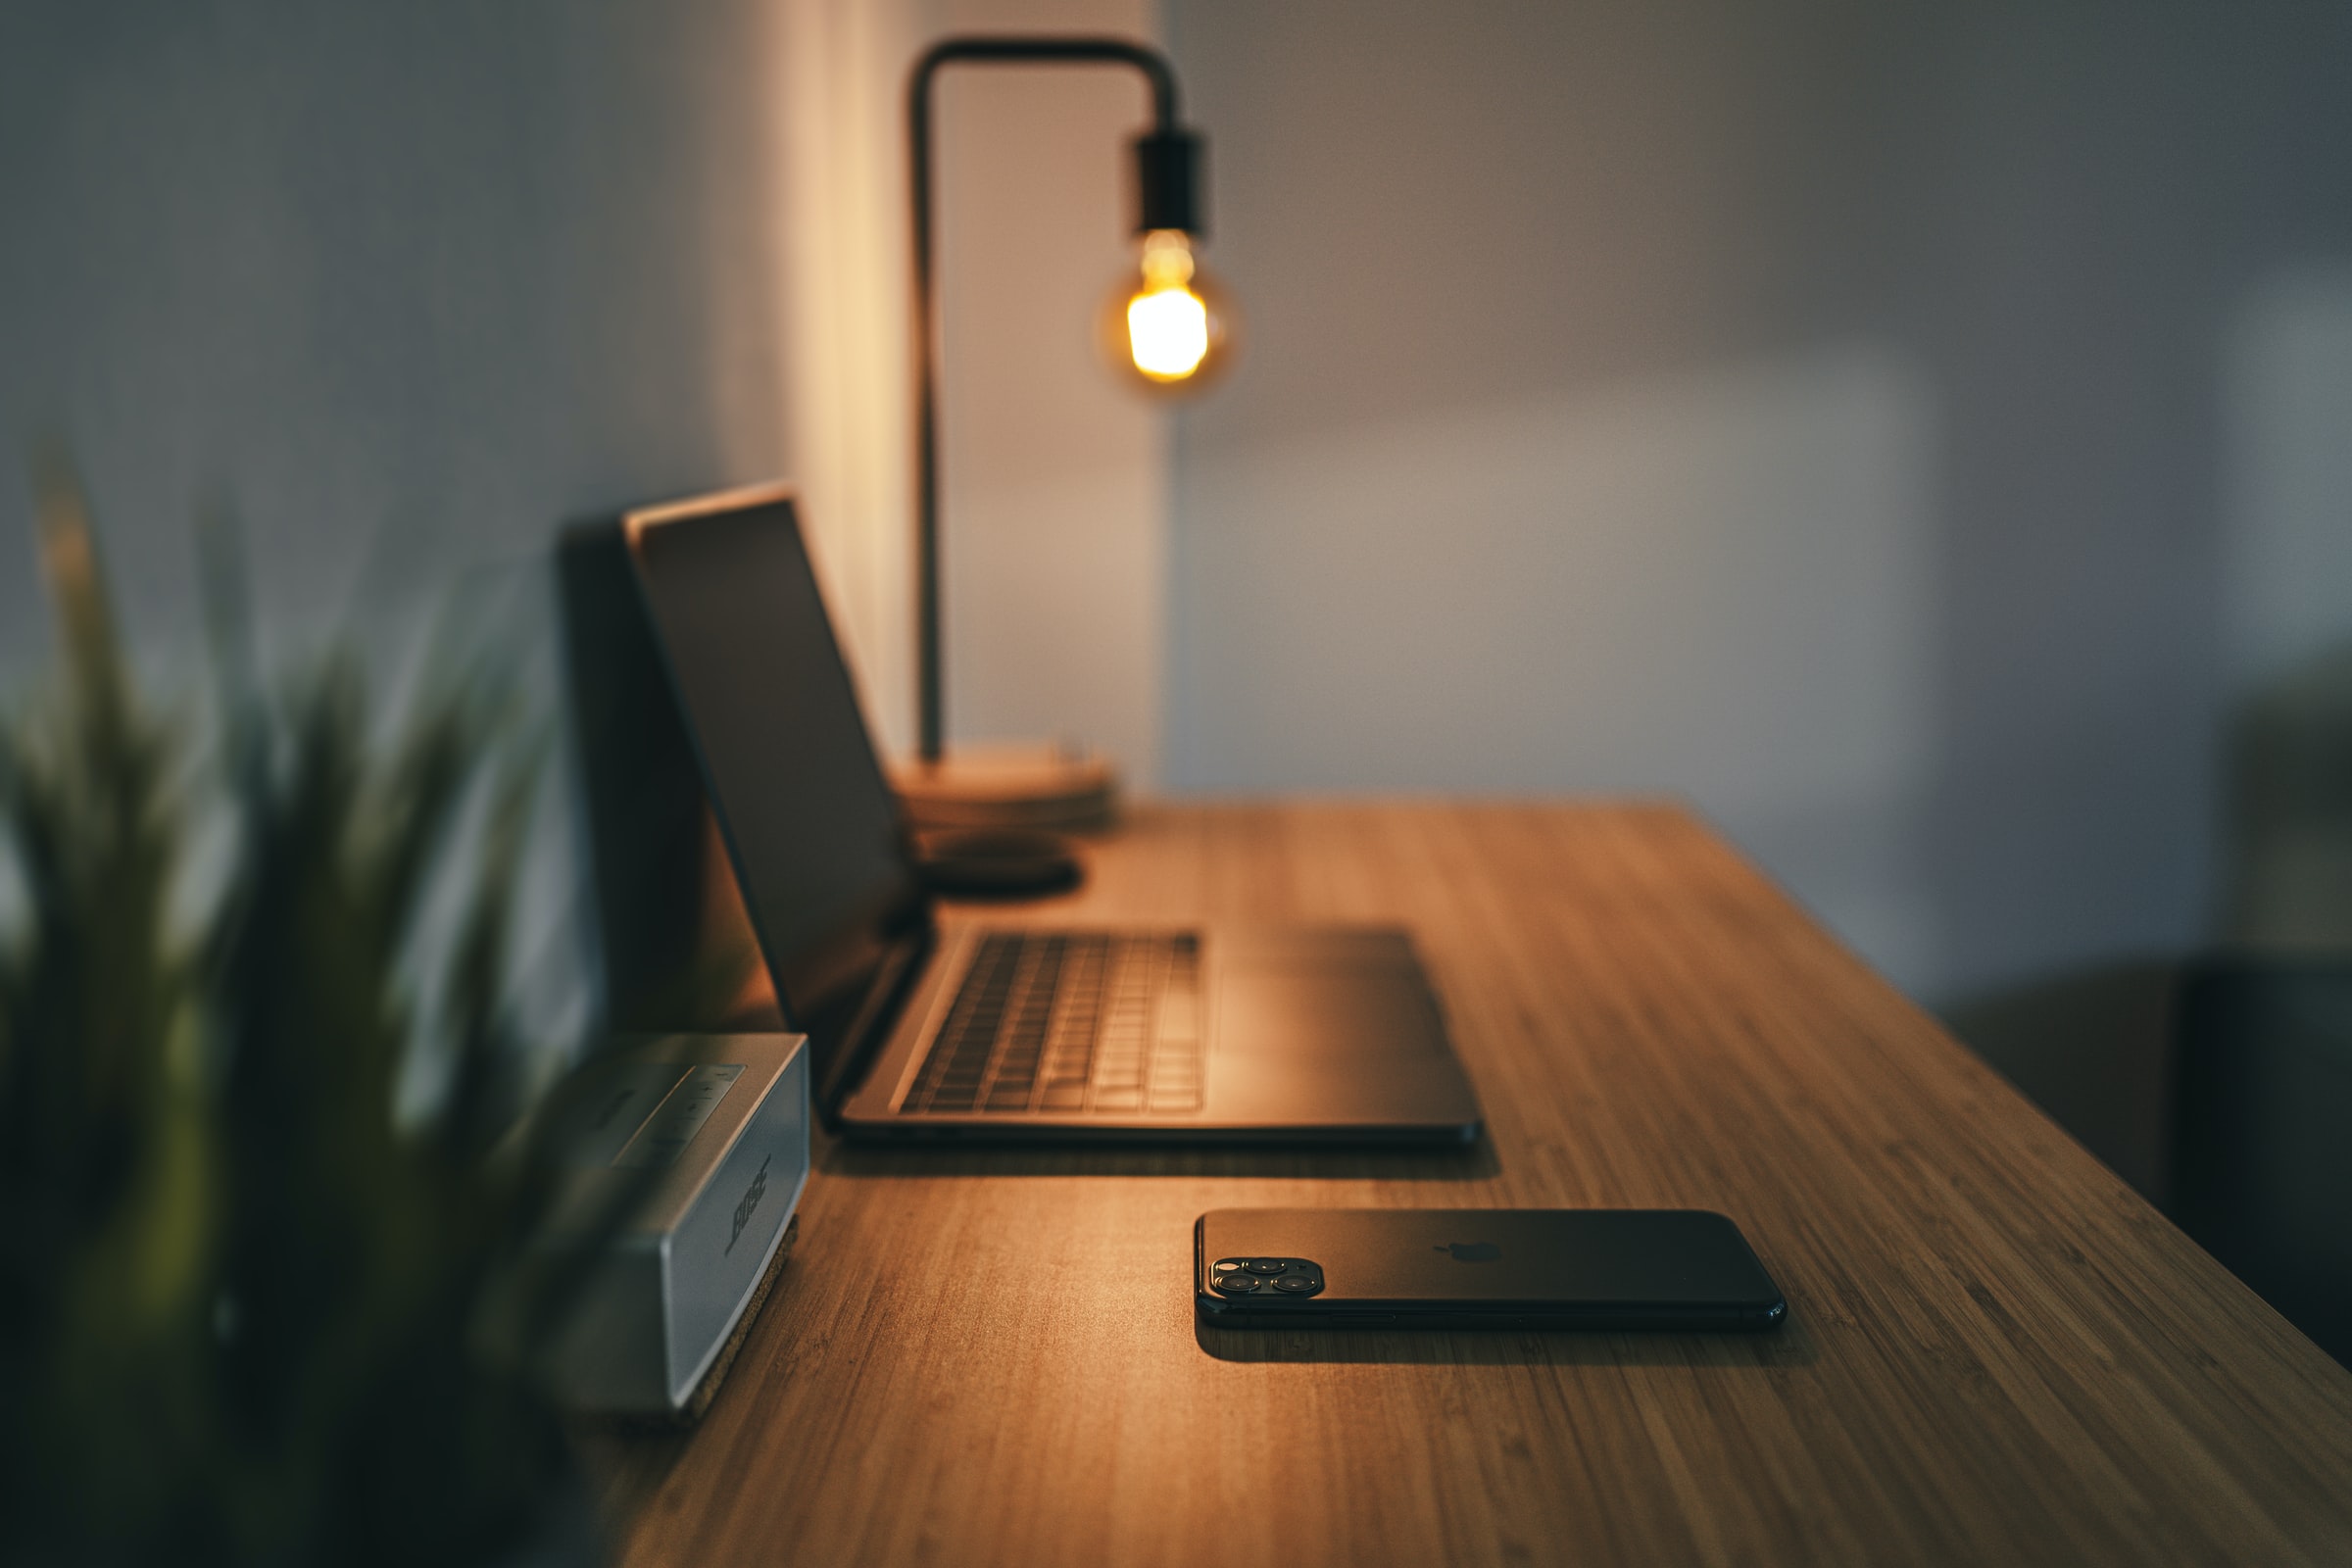
Make it look tidy
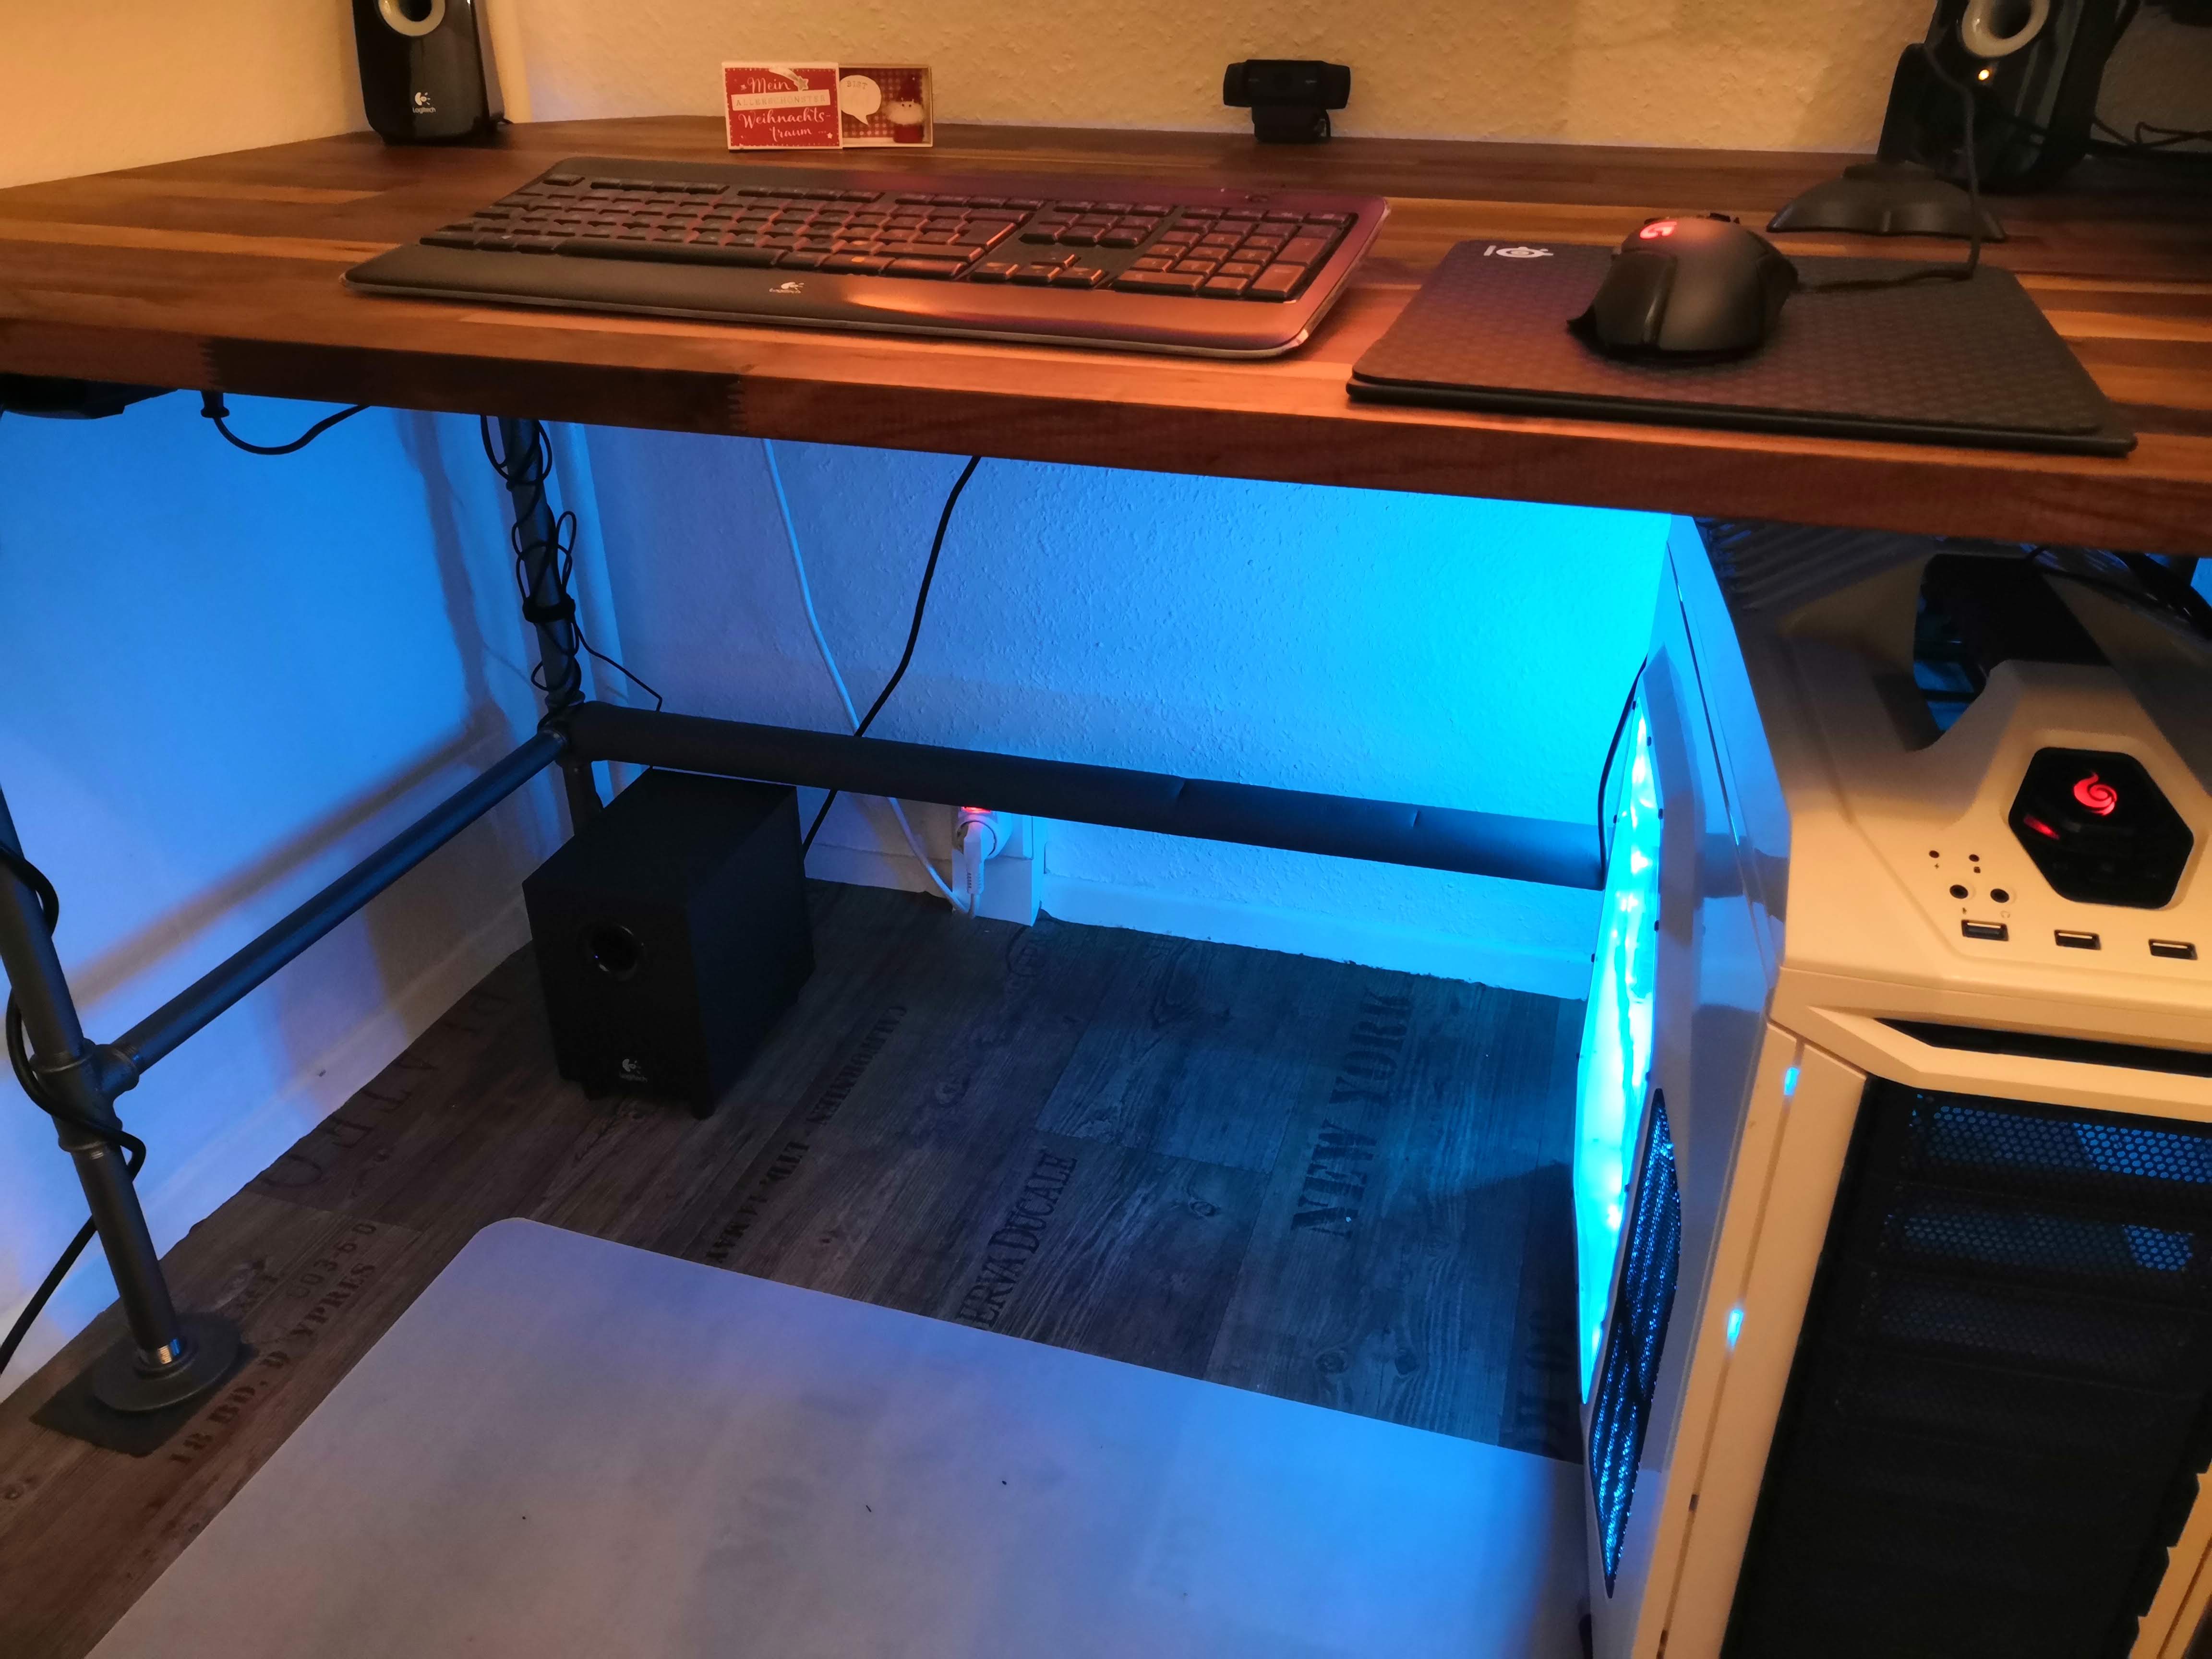
When I think of my old workspace, it usually was very cluttered—several cables lying around, documents needing to be archived, etc. I personally have the feeling that the clutter usually distracts you, and a tidy workspace gives me more space for thinking. That starts with taming the beast of cable management both above and below your tabletop! I’ve invested quite some time and money in hiding the cables as well as possible. Use cable ties to bundle your cables together, and think about installing under-the-table storage for your cables. Mounting your power strip(s) below the table might also be a nice way to organize your power cables.

Speaking of mounts, mounting your display gives you additional space and immense flexibility!
Make it fun
This is still a WIP project for me, but I feel this should be mentioned nevertheless: you might be working quite a lot at your desk, so make it a place where you like to work. Make it fun, make it interesting, make it artistic, make it inspiring! Think of Google’s office-as-a-playground ideas; our work often needs creative problem-solving strategies, fresh and new ideas. Your workplace should be a place that gives you inspiration and the motivation to do so. By the way, this is not only true for your desk alone but the whole office space/room you’re working in. Adding some plants, paintings, your favorite quote, or pictures of your loved ones will make it even more personal and more yours. There are a lot of great resources online to get some inspiration on what you could do:
- https://www.boredpanda.com/coolest-offices-in-the-world/
- https://officesnapshots.com/articles/the-top-25-most-popular-offices-of-2019/
- https://officesnapshots.com/articles/the-top-25-most-popular-offices-of-2018/
- https://officesnapshots.com/articles/9-noteworthy-global-tech-offices/
- Or simply browse through Pinterest!
Personally, I am currently planning to add a shelf for my favorite (programming) books so that I can skim through them from time to time. Furthermore, I want to add a nice LED installation under the desk and a DIY Ambilight behind my main display. Maybe link it with a self-made Pomodoro timer or an “upcoming meeting” display?
The process
That being said, you now might have an idea of how your ideal DIY desk might look like. Now is the time for some proper planning! It took me quite a lot longer than I expected to get the exact measures, correct pipe lengths, and a nice looking wooden tabletop that didn’t cost a fortune. I brainstormed a few ideas together with my girlfriend and created a few sketches. During this process, I came up with my final idea: two overlapping table tops connected by two pipes.

The benefit of this layout is something that I can wholeheartedly recommend you if you do not absolutely know what you’re doing:
Don’t plan your measurements to the millimeter! Leave some room for inaccuracies.
So I did and finally found an affordable table top:
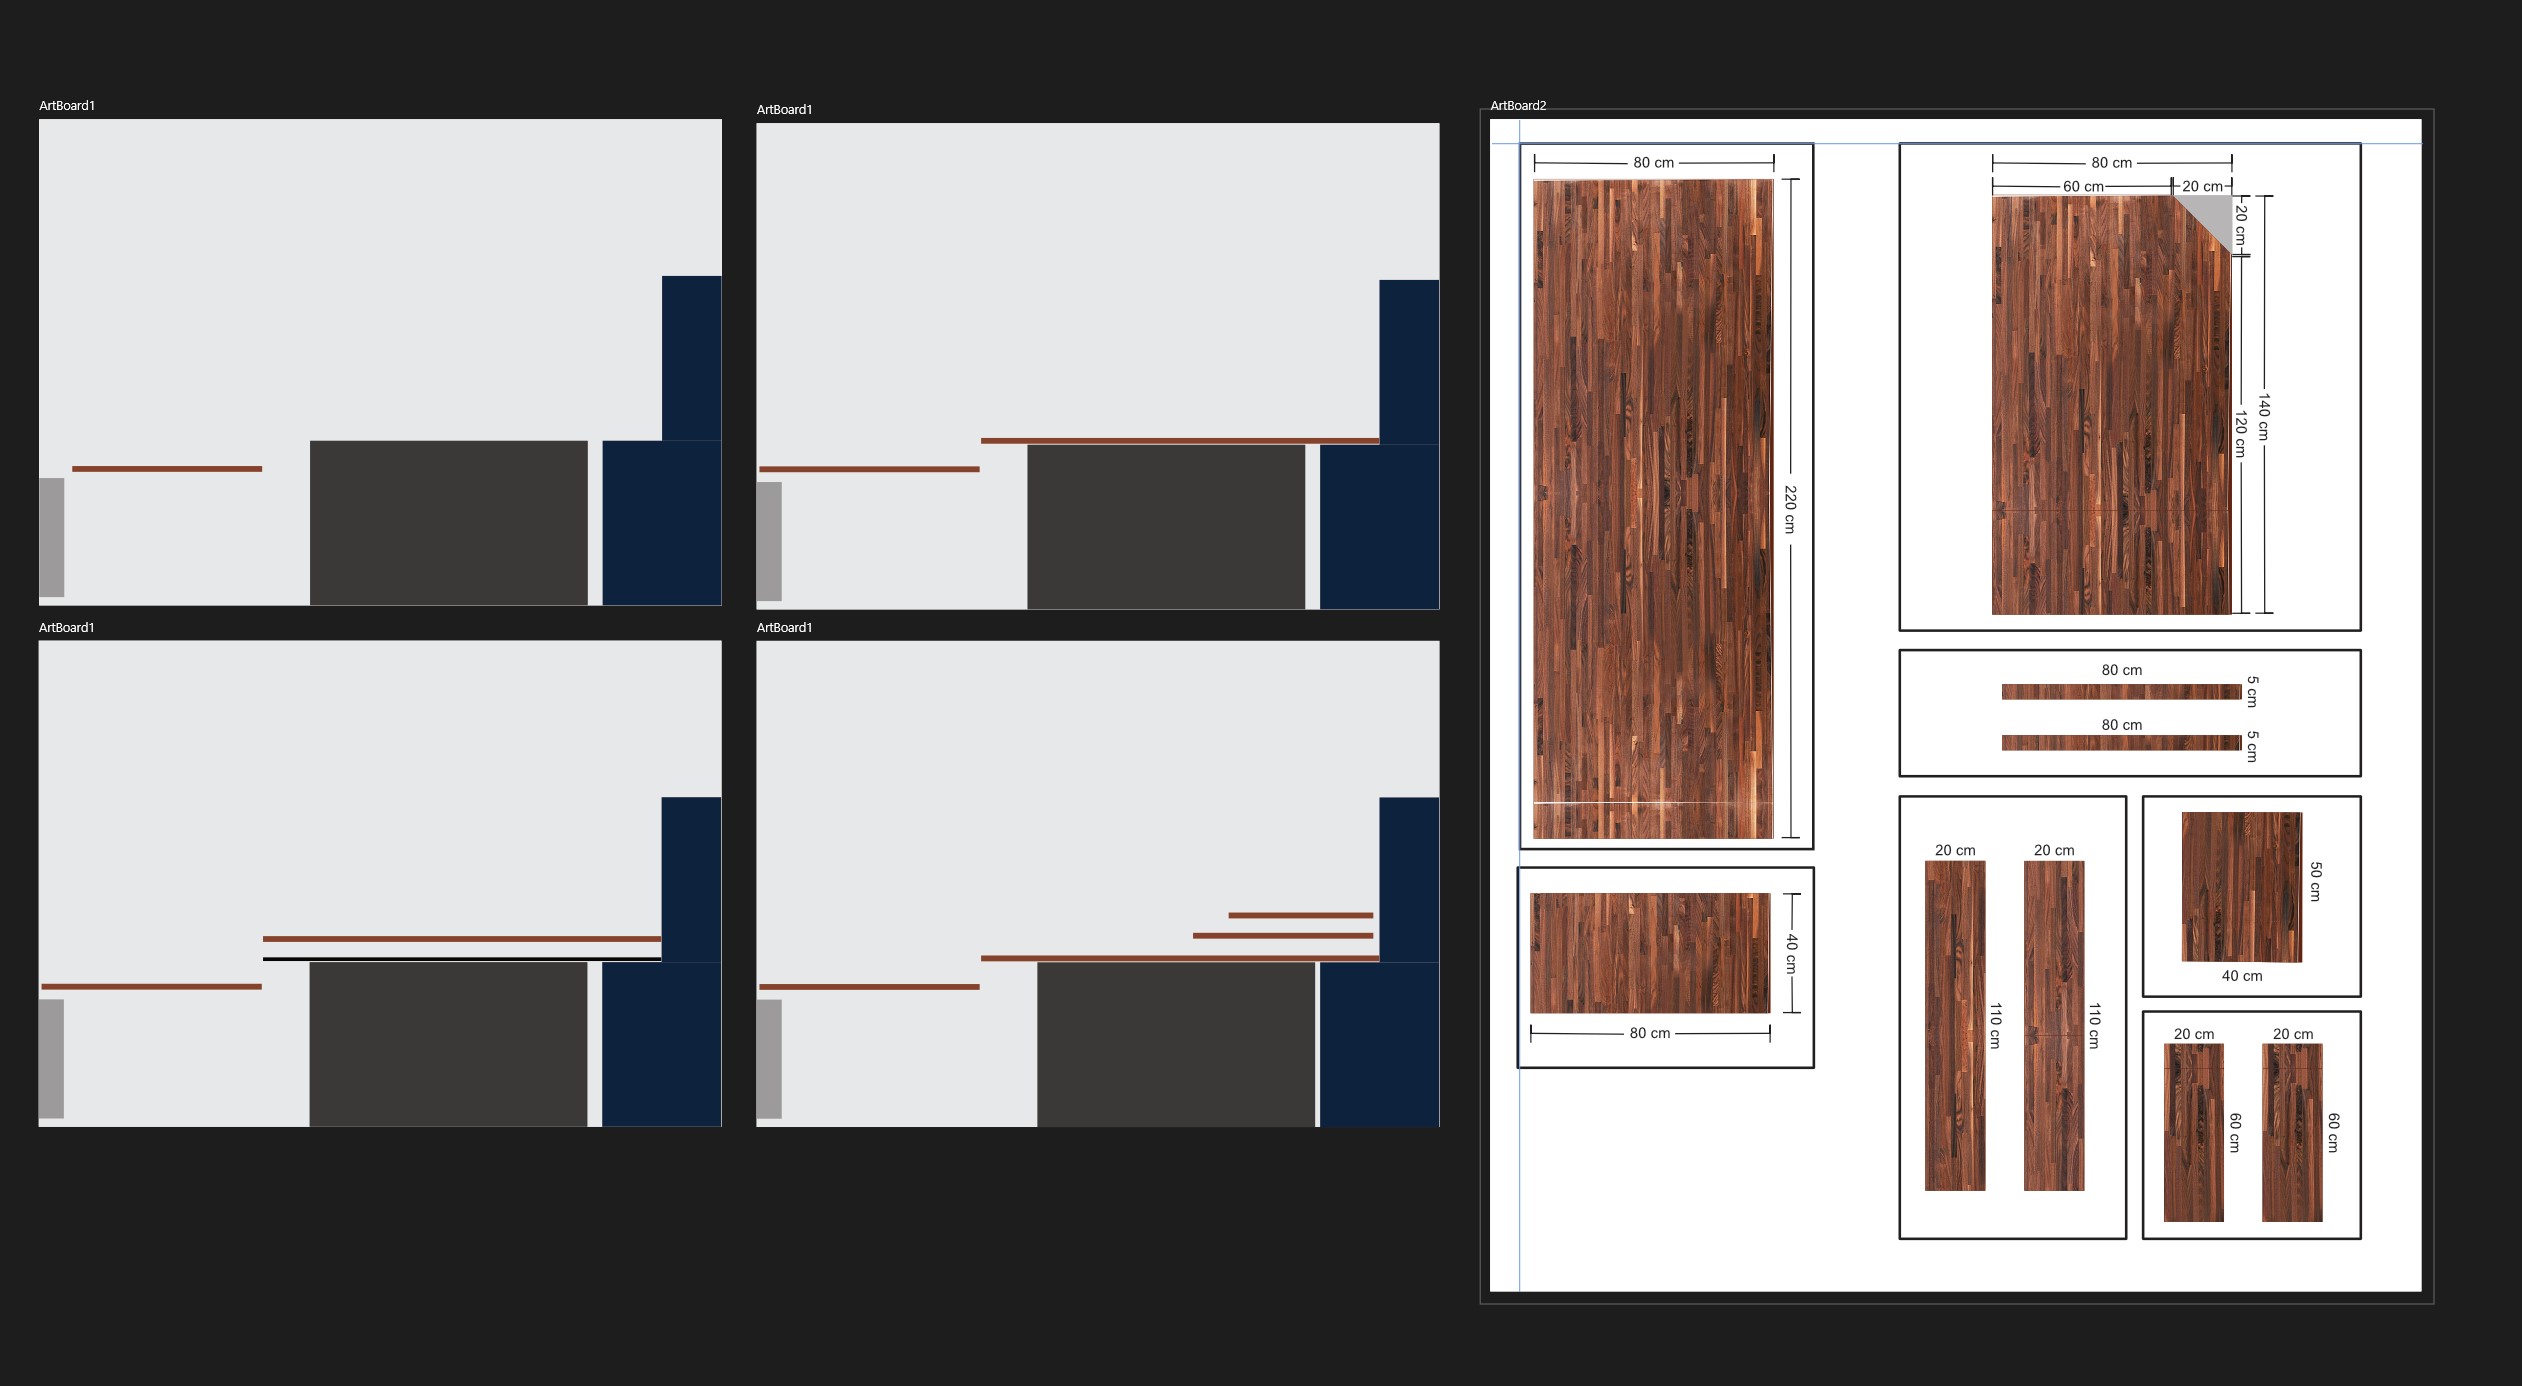
Right: final measures to cut the tabletop
I don’t have the exact schematics of the pipe setup but let me tell you something I learned during the process (of re-buying some parts because they were too short): Connecting pipes with fittings properly takes away more length than expected! In my case, I miscalculated the height by about 1.5 centimeters (0.5″) and had to order a few additional pipes.
The result
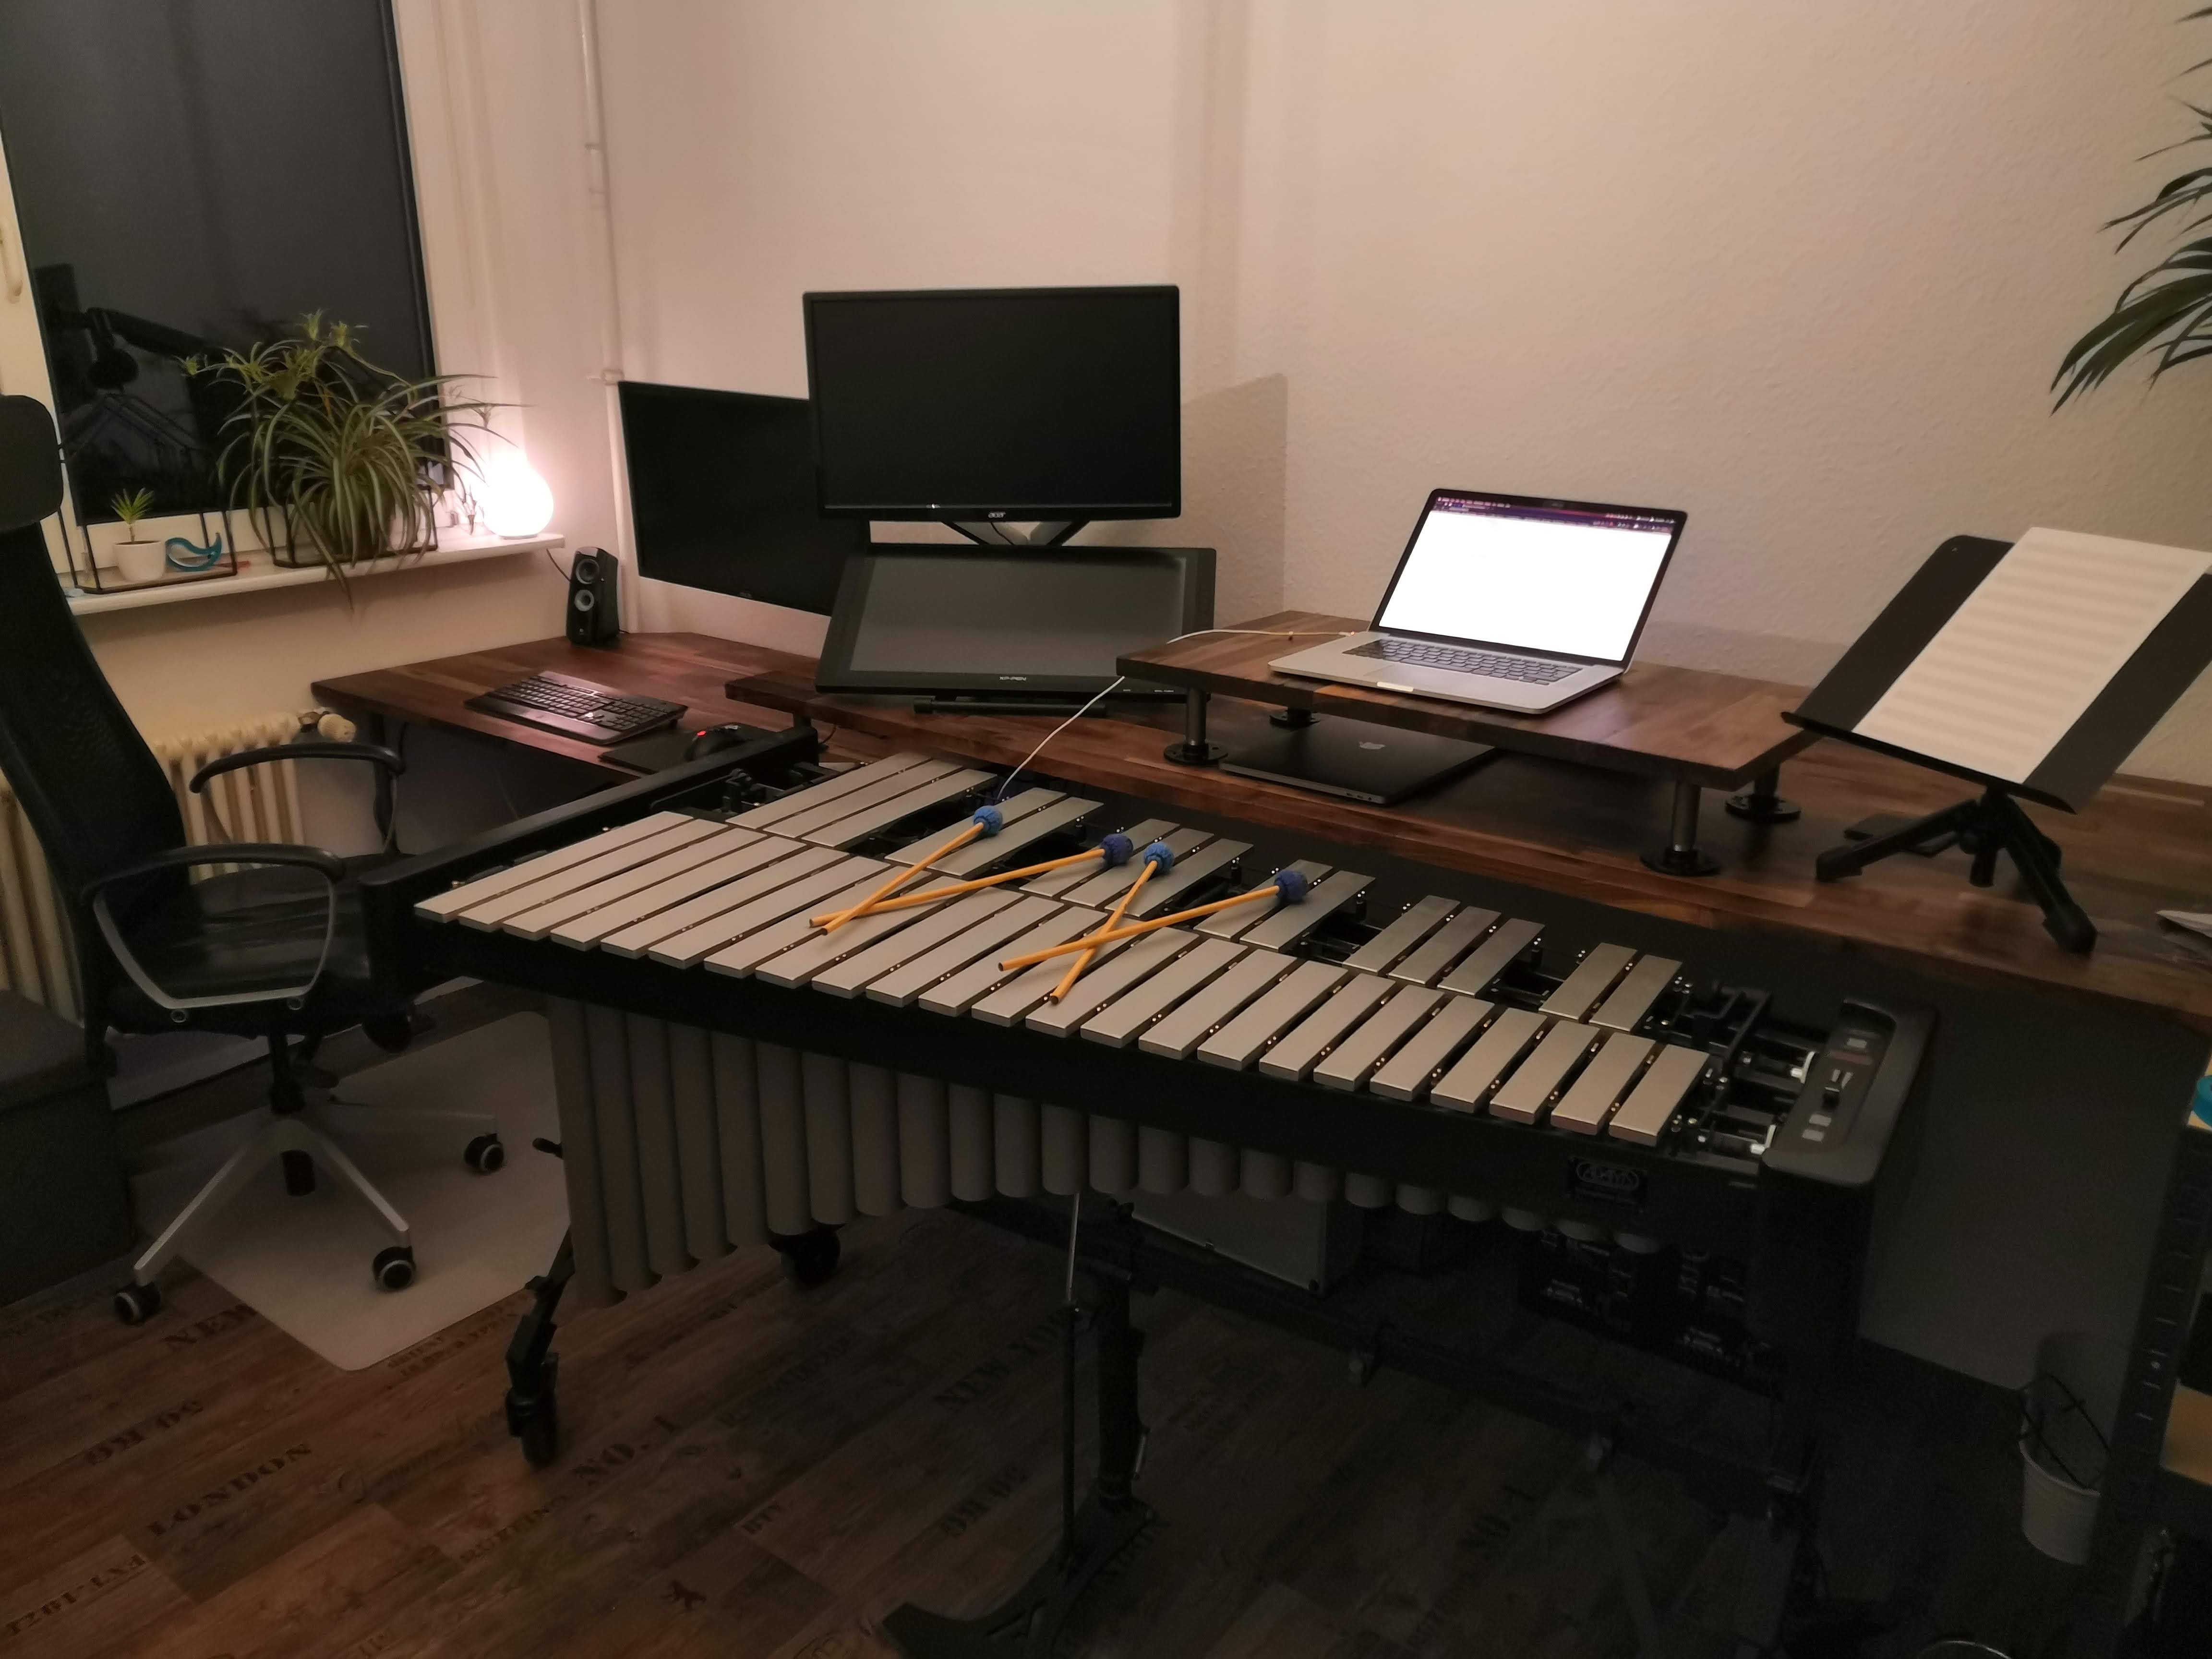
After this long text, I want to finally present you my (almost) finished desk:
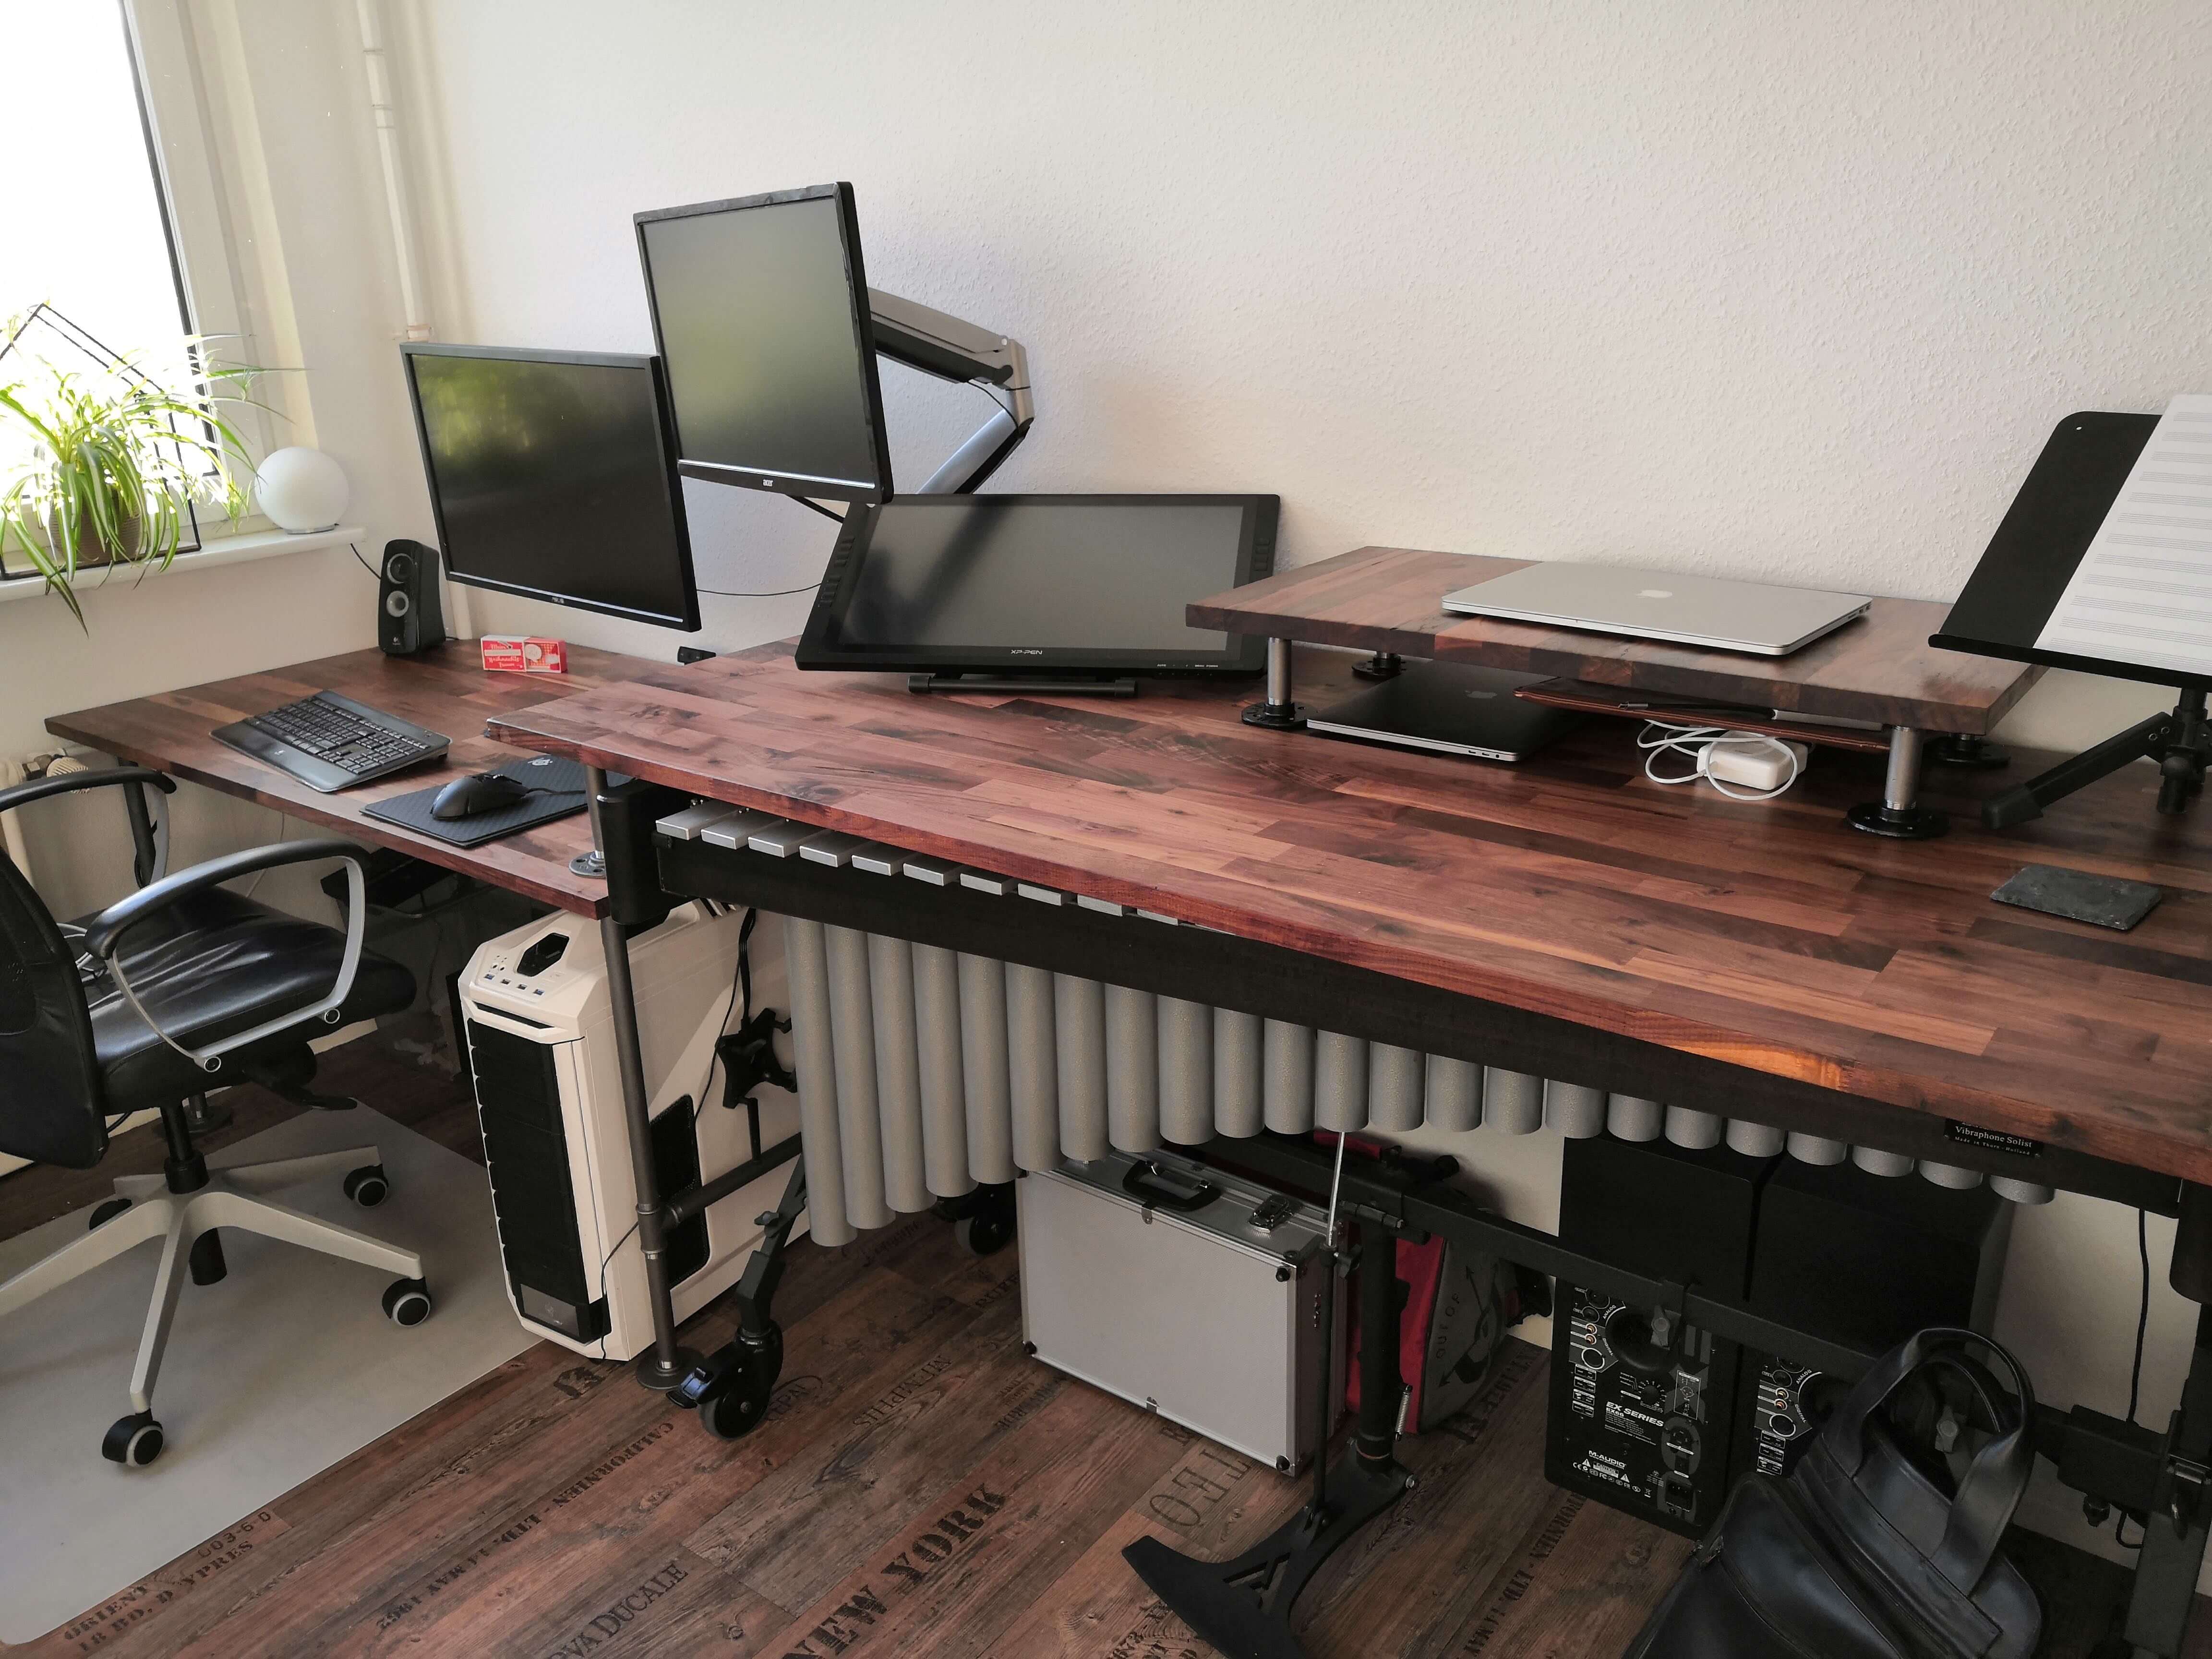
The desk with a total length of 3.60m (11.8 ft) is split into a 1.40m sitting desk and a 2.20m tabletop, which covers the vibraphone. The sitting desk has a height of 72cm (28″). The connecting pipe below is covered with a grey pipe isolation, making it a very comfortable footrest!
The standing table is situated at a height of 93cm (3 ft), which is the perfect height for a working table for my girlfriend. I’ve added a 15cm (6″) top out of cutouts that were leftover. This gives me the perfect height for typing, and it’s big enough for a laptop or 100% keyboard with a mouse. Moreover, I can easily store the laptop, keyboard, etc., below it.
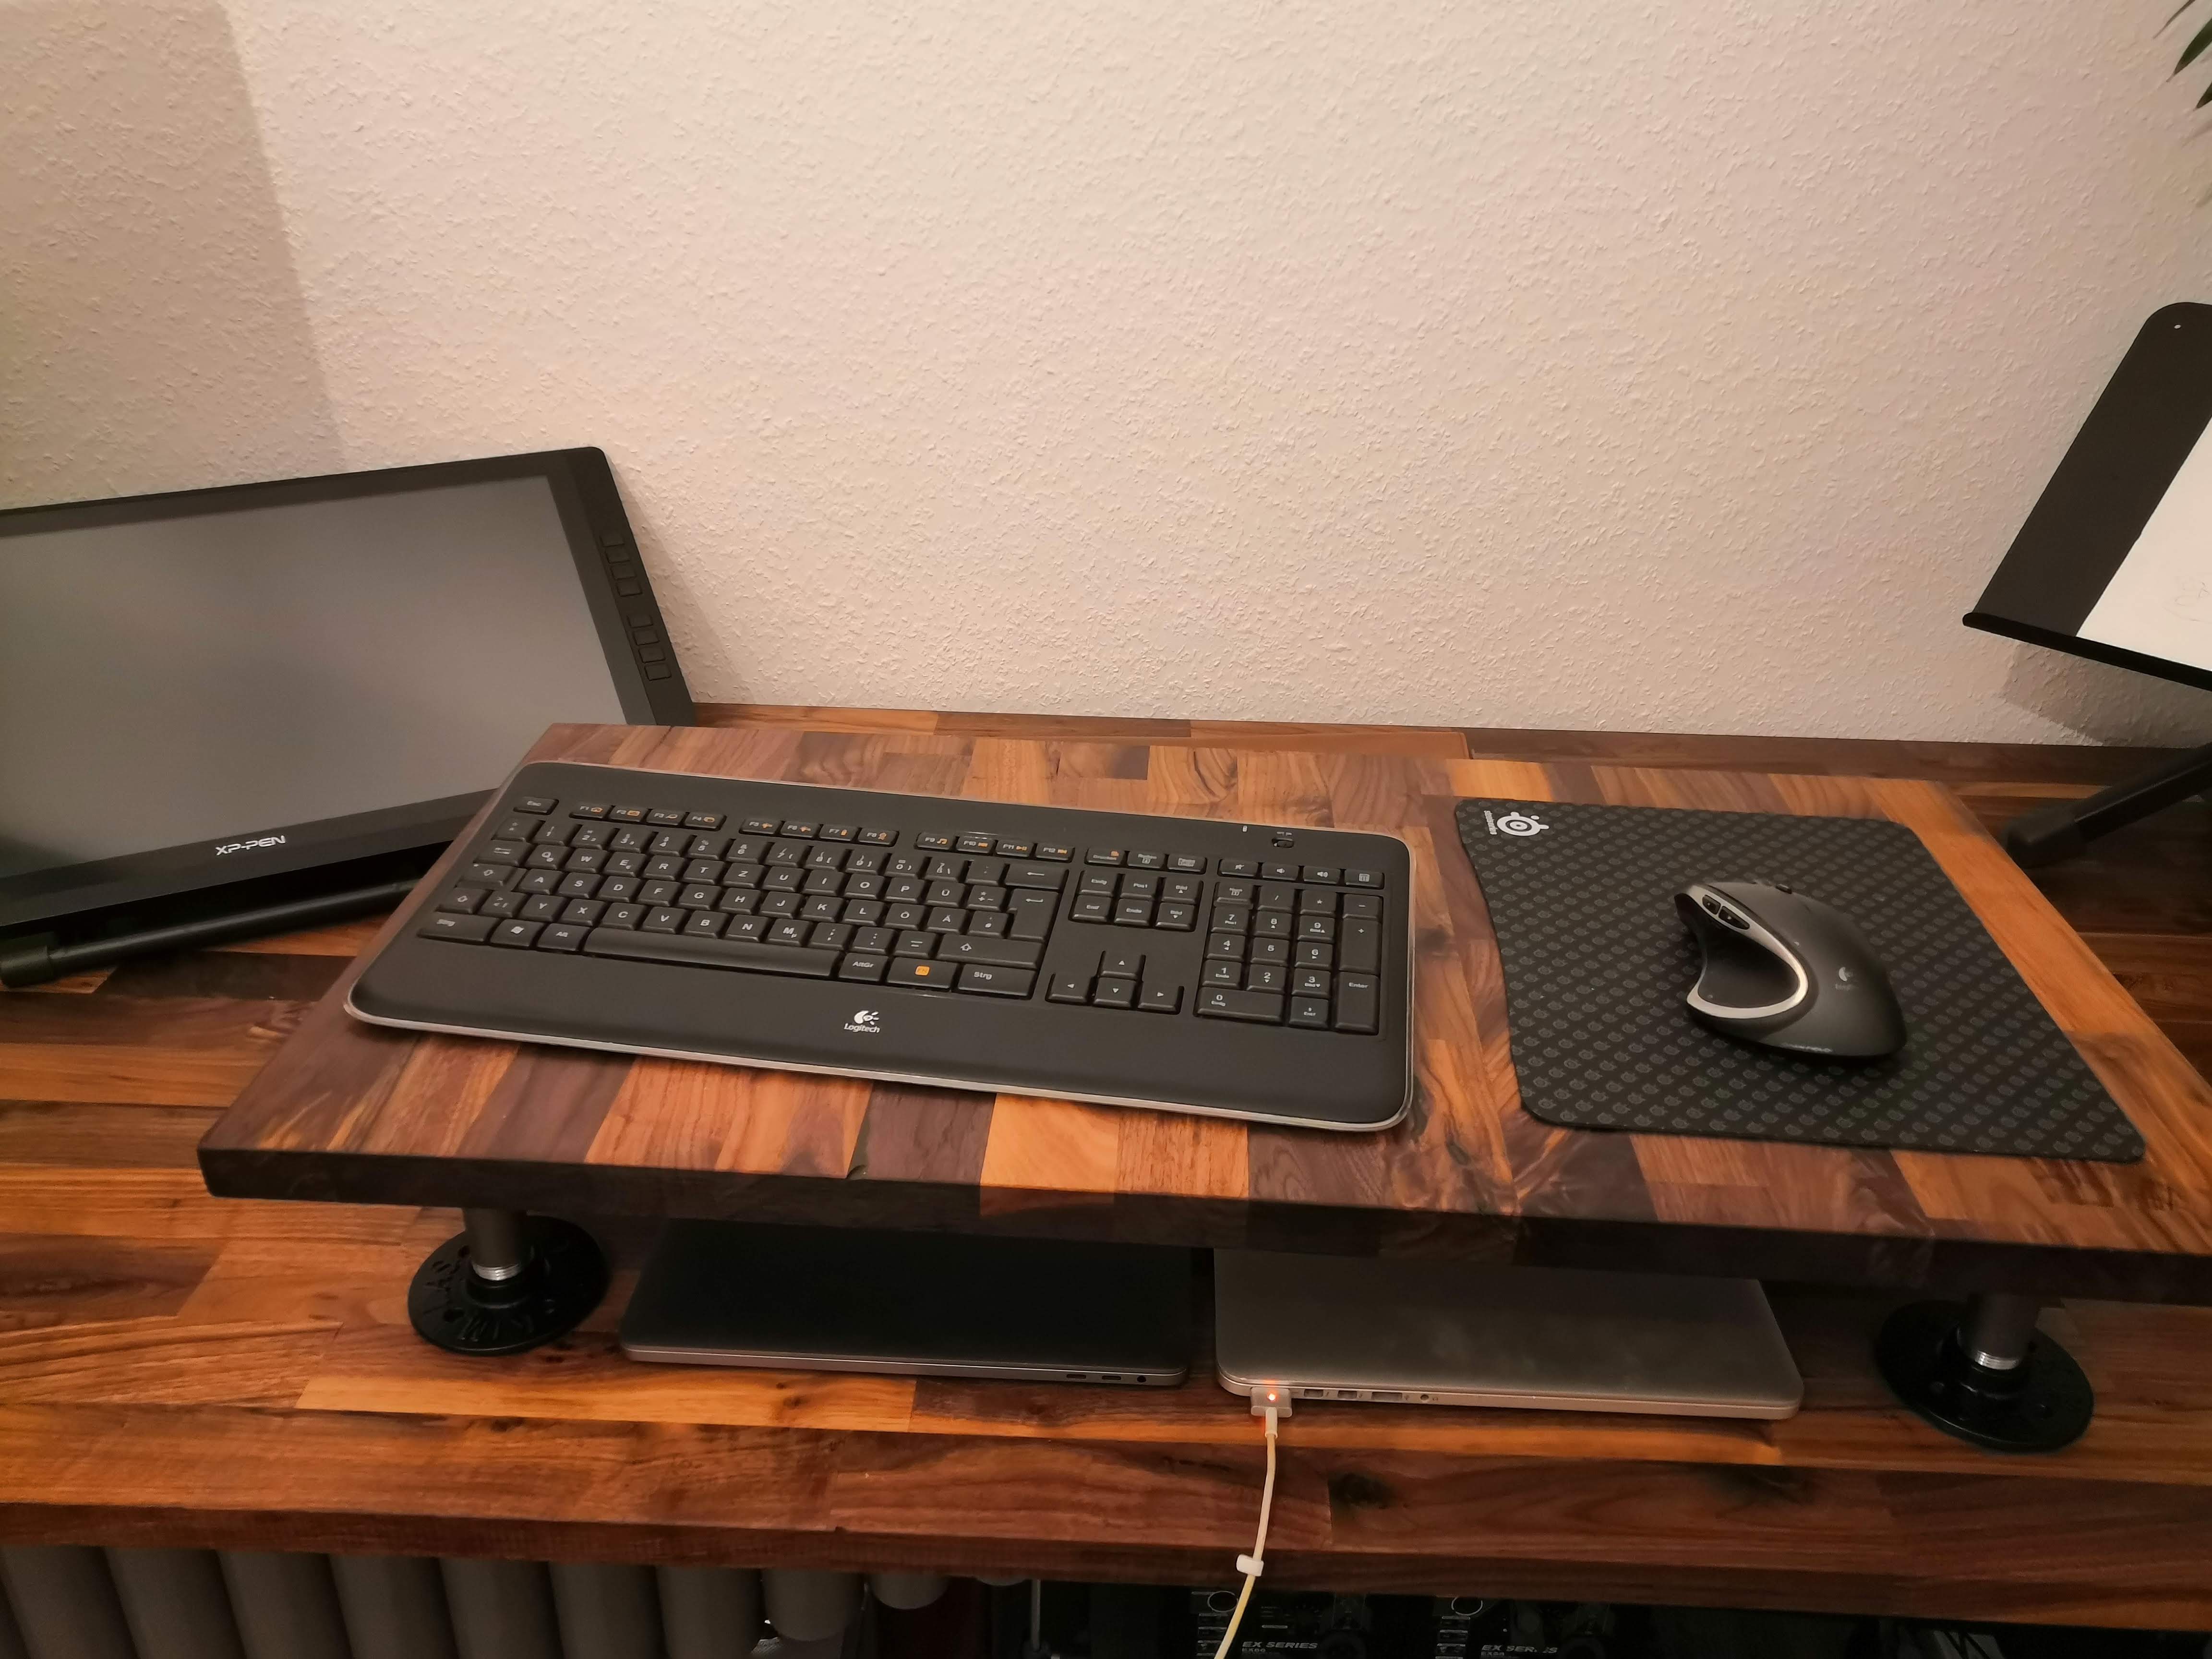
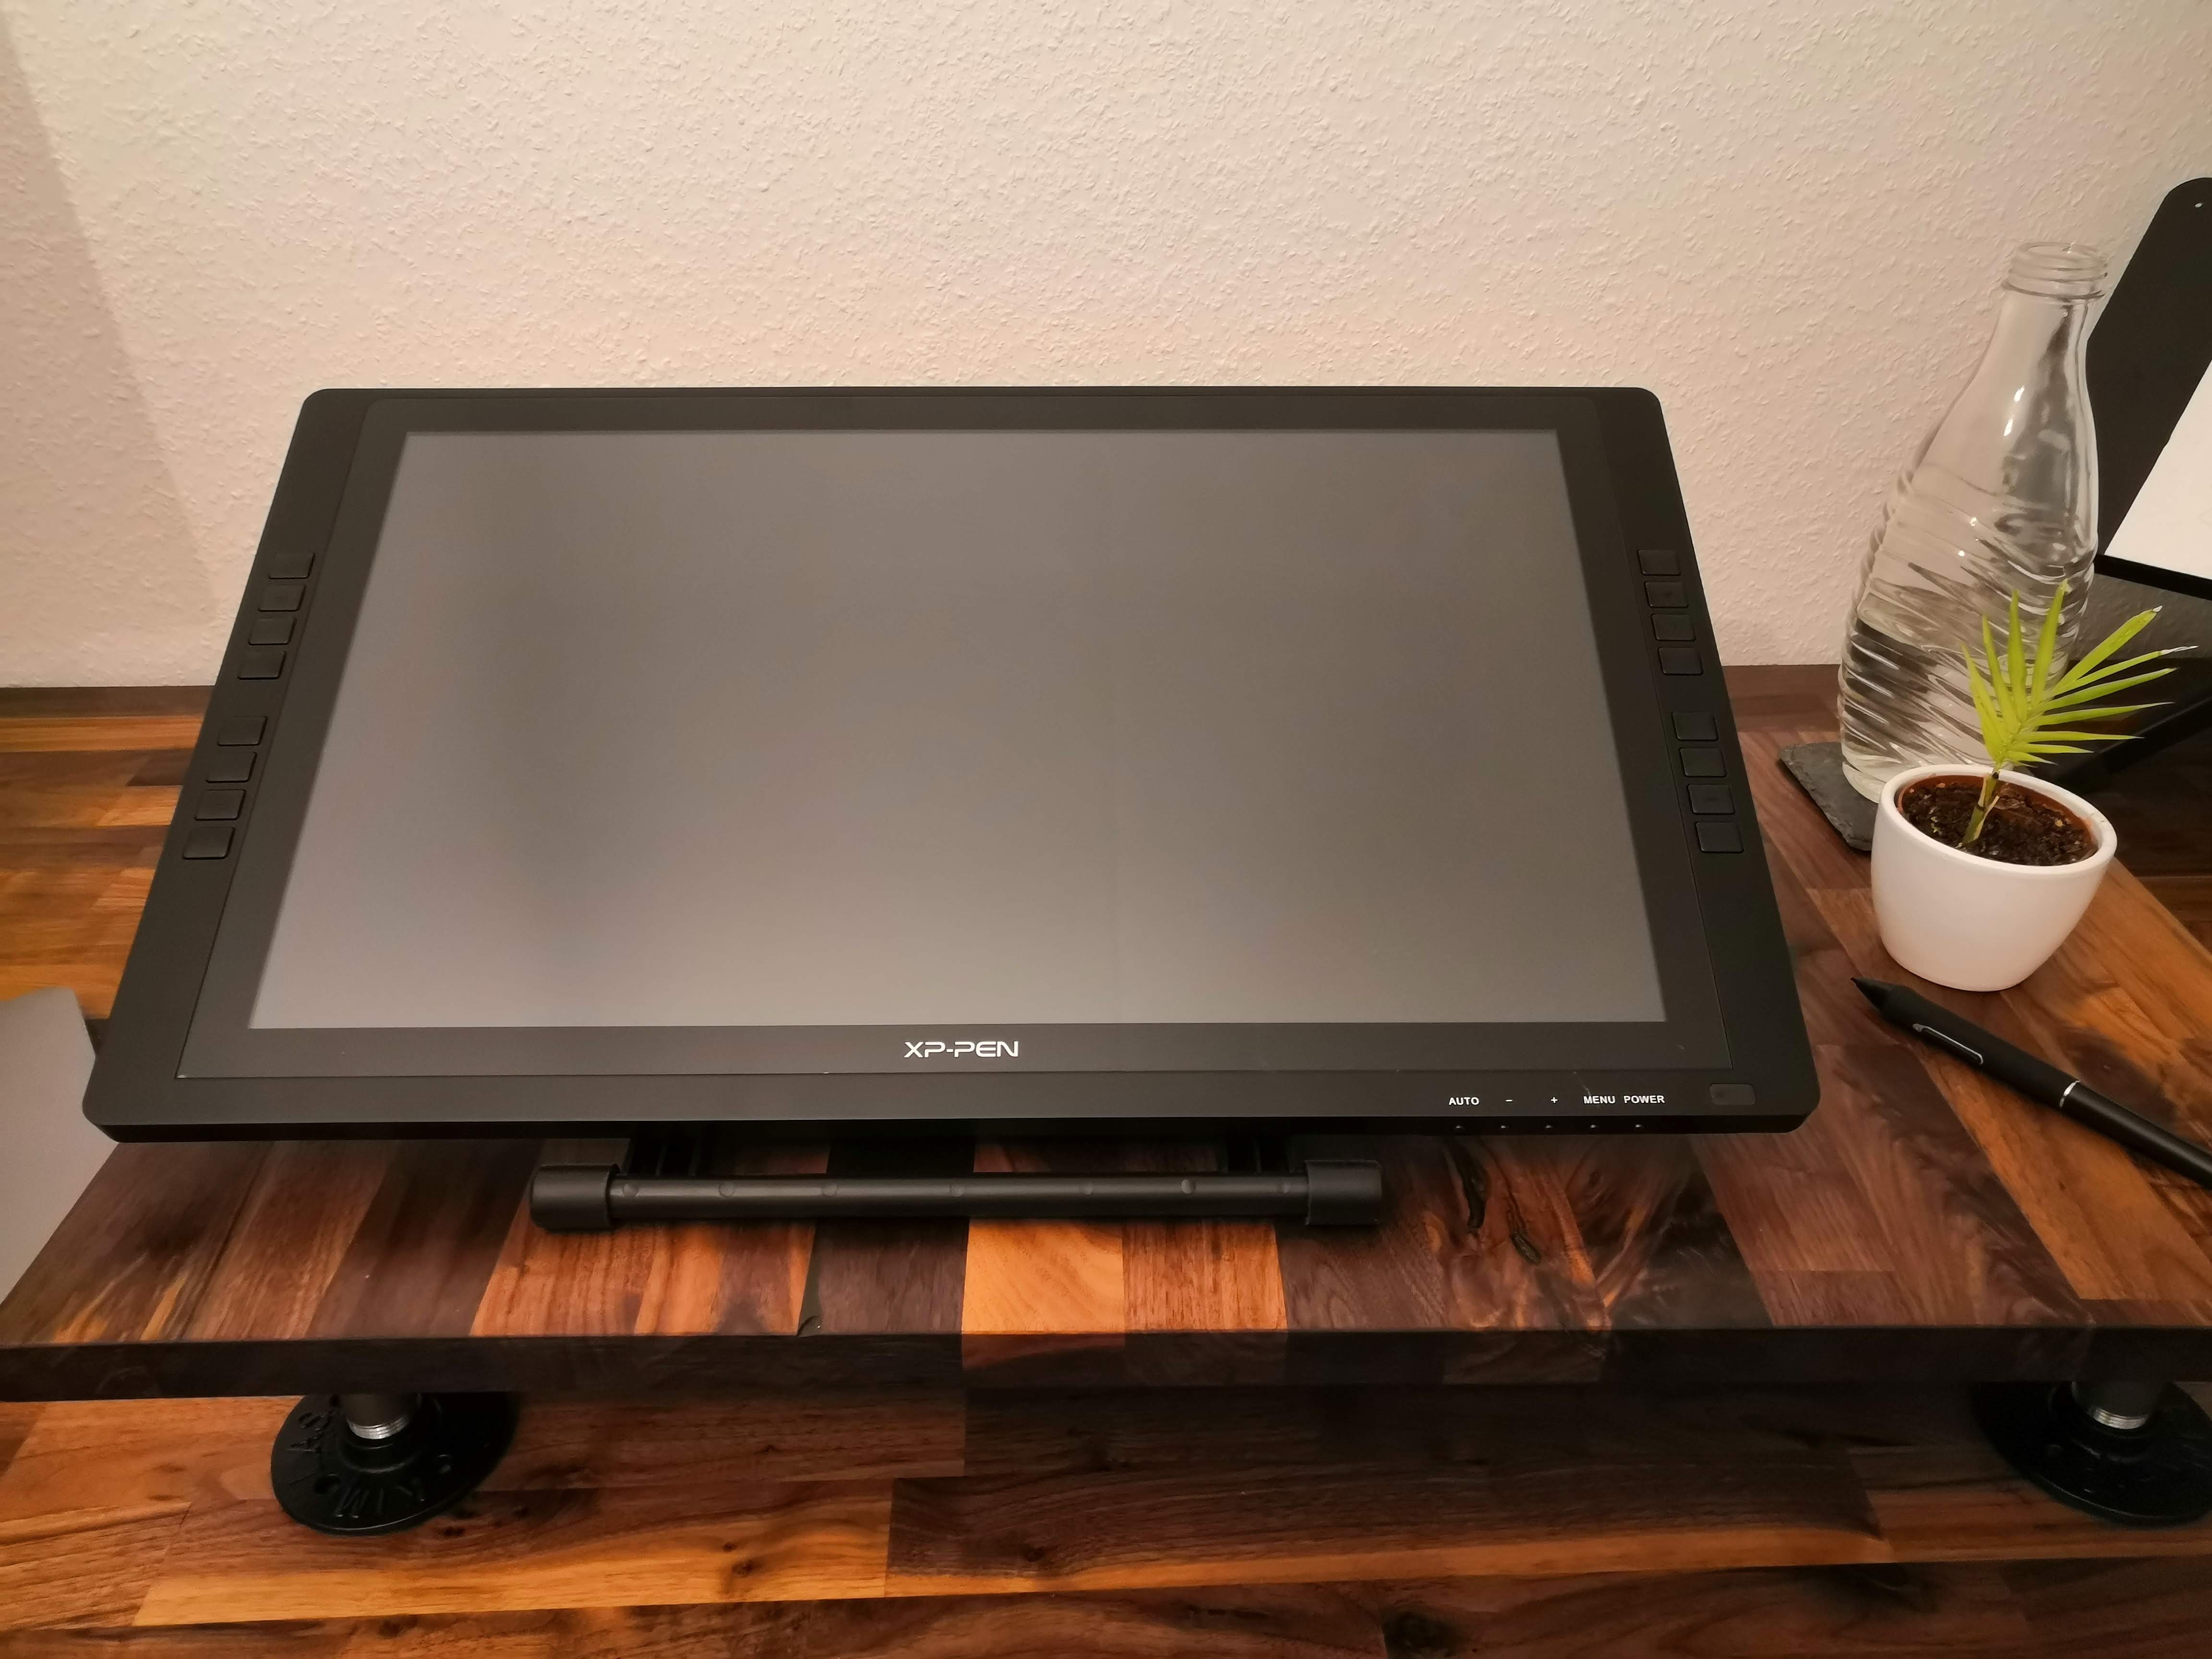
Ah, and there’s even more! You might have noticed the graphics tablet in the background. I can draw on it (or scribble notes) while sitting or (with the 15cm additional top) while standing.
To switch between sitting and standing, I can move the arms of the display mount so both displays can be used in any situation. I can even rotate the display(s) from horizontal to vertical, e.g., for reading longer texts. If I don’t want to move the displays, I can still connect my laptop (or graphics tablet) to the HDMI switch and toggle between inputs.
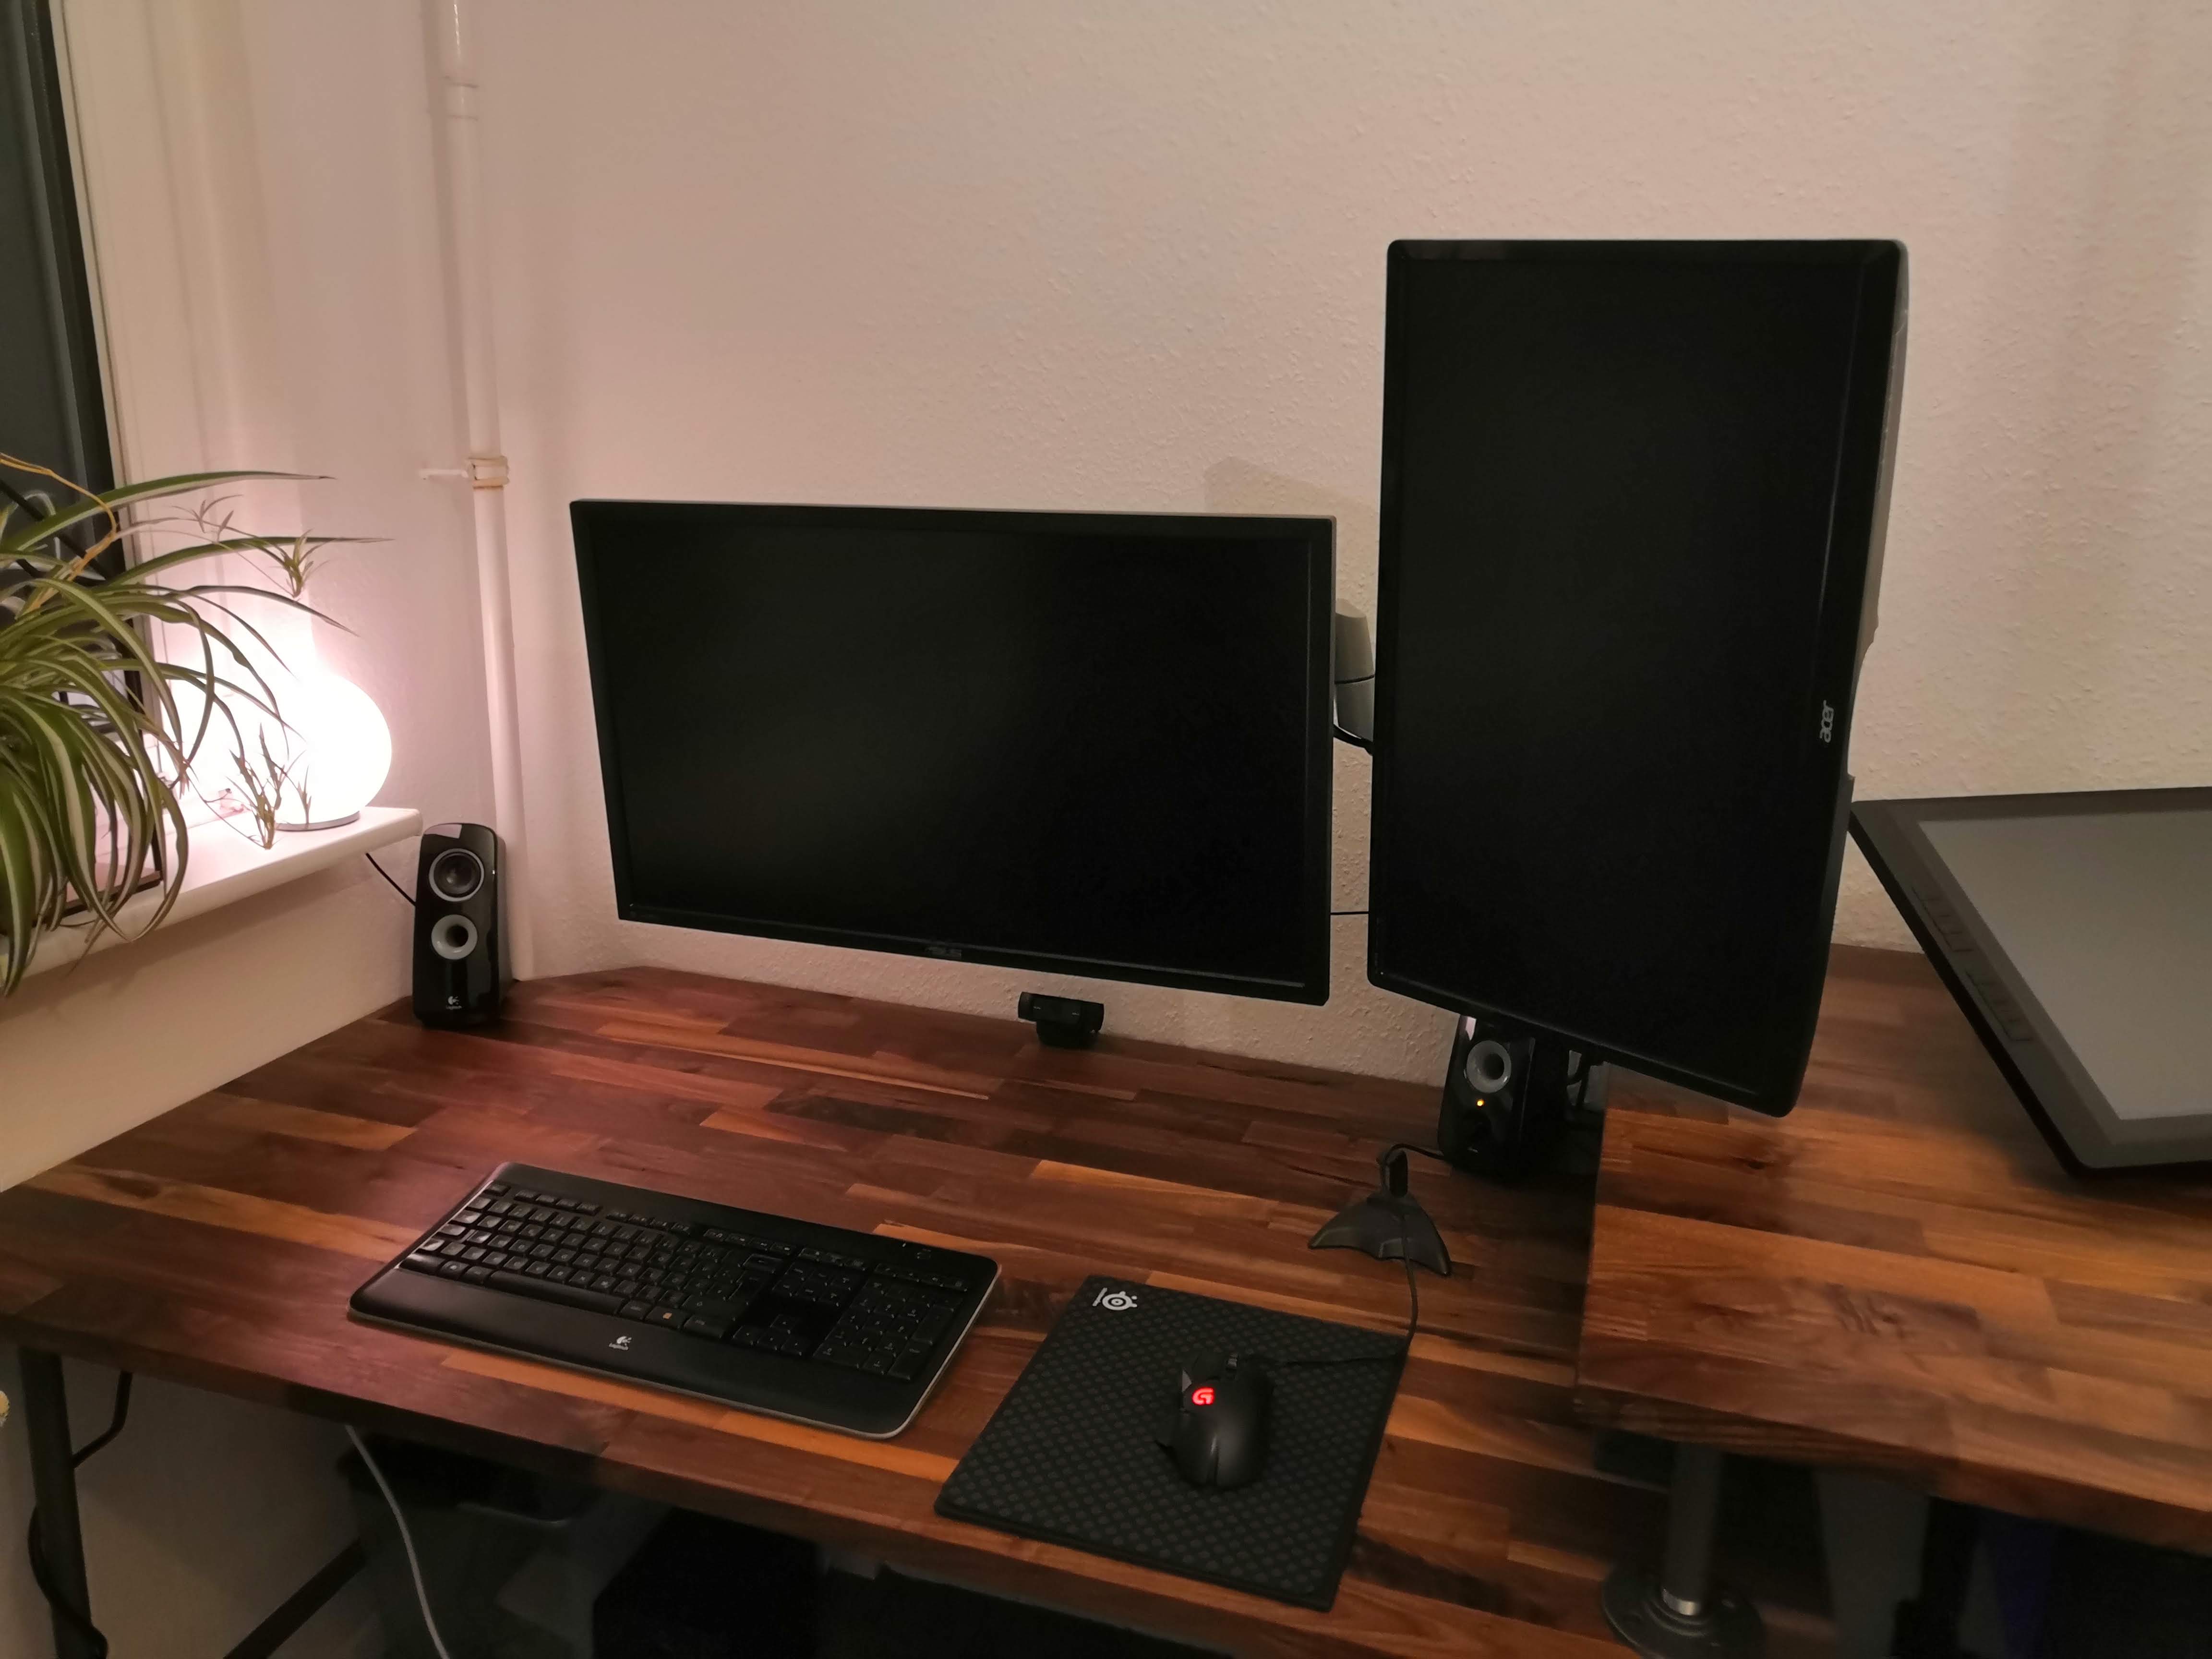
The one thing I’m not satisfied with yet is the height of the displays when standing. I’m still looking for an alternative mount that is more flexible in height.
And what about the vibraphone? Thanks to its wheels, I can now easily pull it out under the table and move it back in:
There will be a few changes or additions here and there over the next months, but needless to say that I am delighted with the final result! I hope I could give you a few tips and inspiration. If you have questions or you are looking for some advice, feel free to reach out to me!